Photo Editor
Edit, draw, crop, resize, and enhance your images with the built-in Media Moana photo editor
The Photo Editor (/editor) is a full-featured image editing workspace built into Media Moana. You can crop, resize, adjust colors, apply filters, draw, add text and shapes — all without leaving the app. This guide walks through every tool and feature available in the editor.
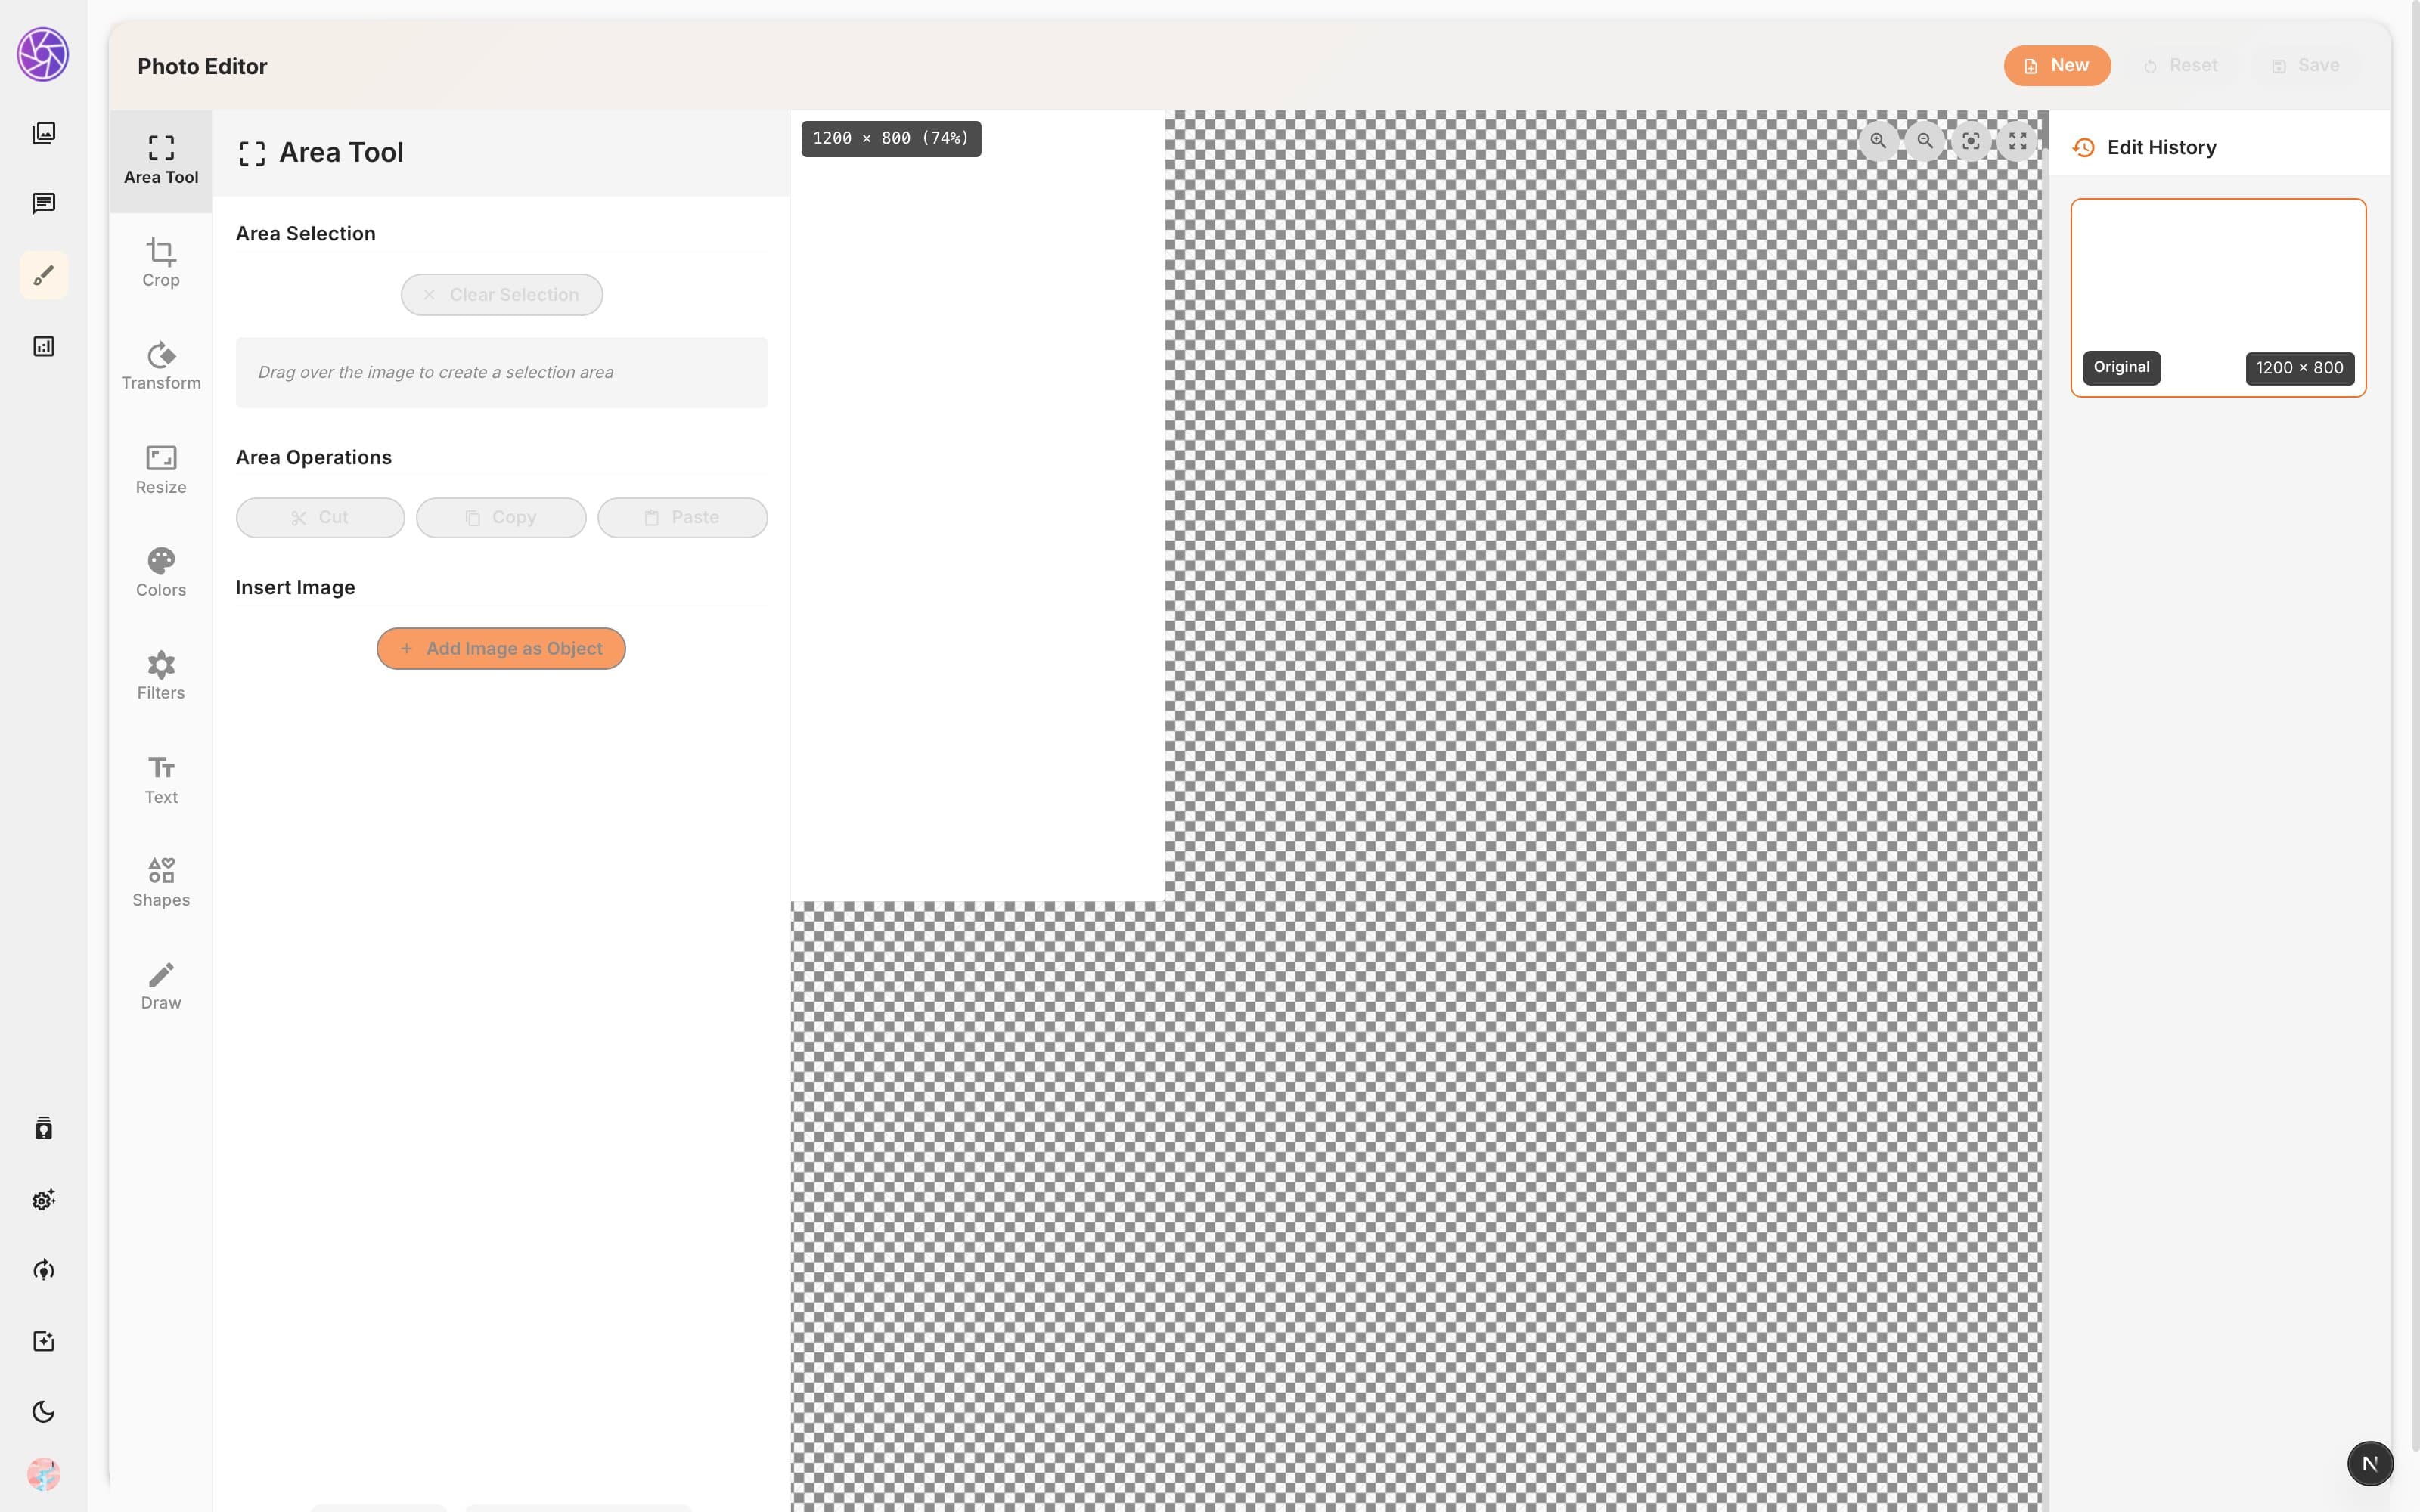
Getting started
When you open the editor you are presented with three ways to begin:
| Option | What it does |
|---|---|
| New Canvas | Create a blank canvas with a chosen size and background color. |
| Open Image | Upload an image file from your device. |
| From Library | Pick an existing image from your Media Moana library. |
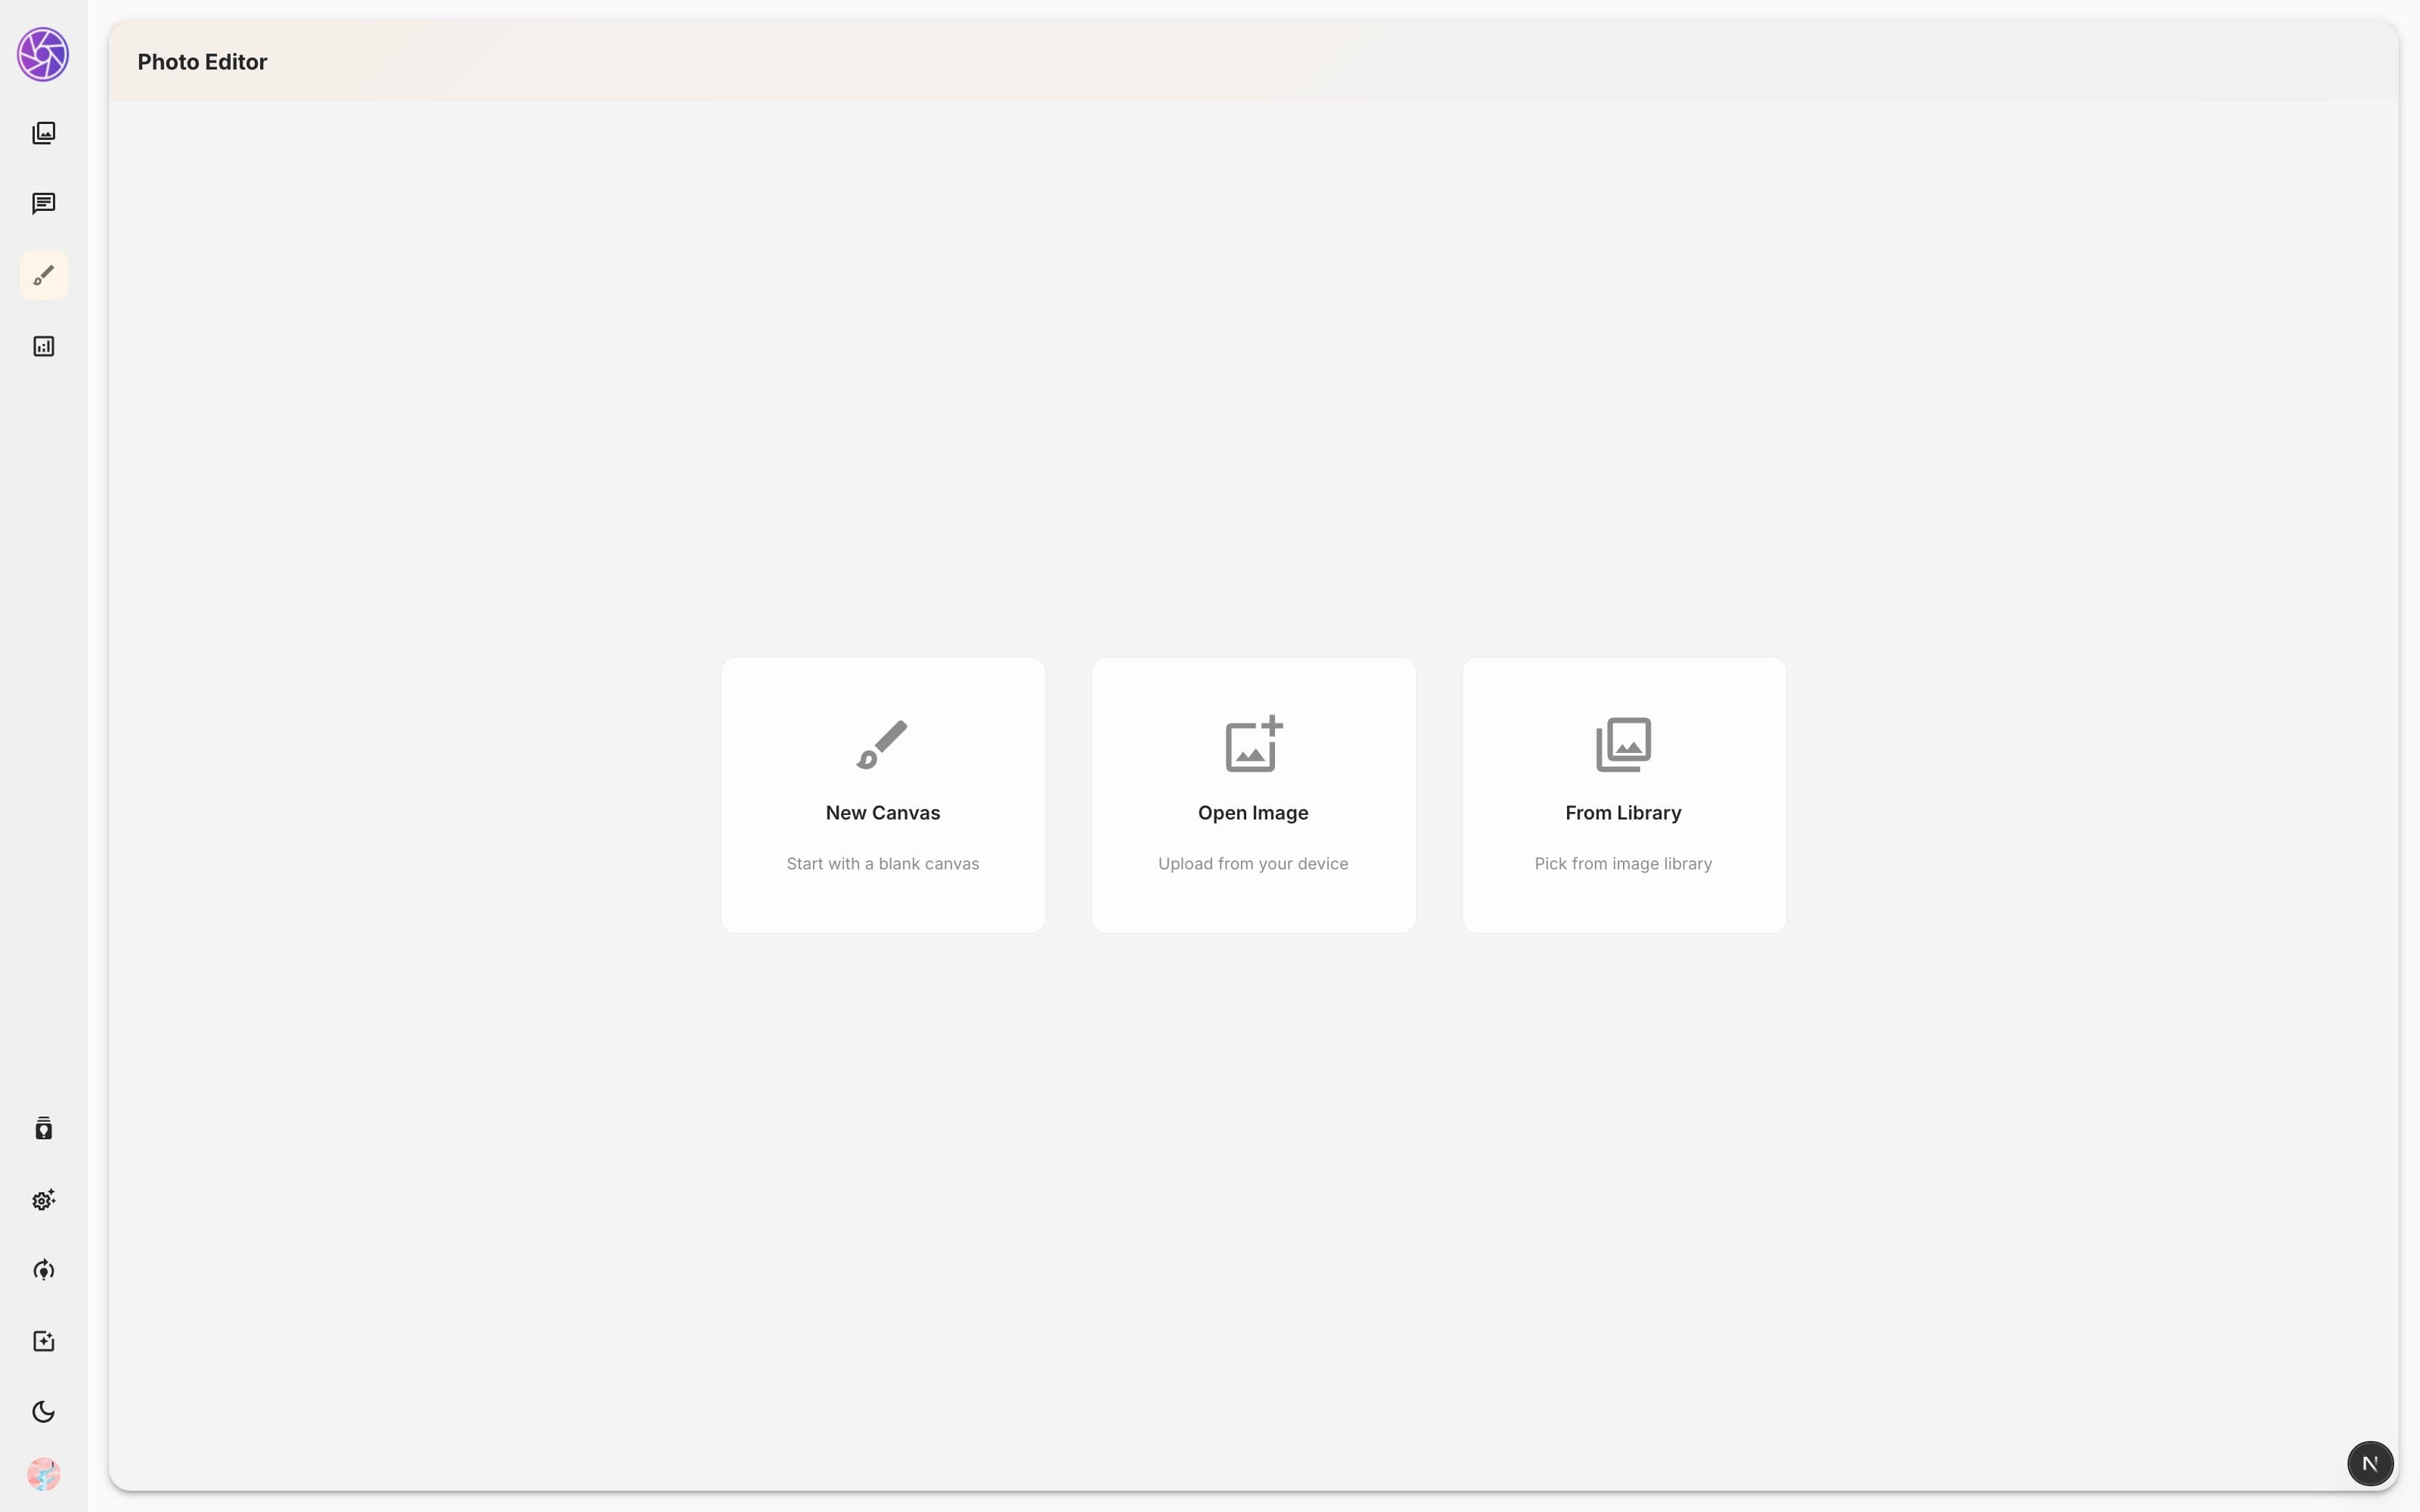
New canvas options
Clicking New Canvas opens a configuration dialog where you set:
- Canvas Size — pick from presets (Square, Landscape, Portrait in small/medium/large, HD, 4K, Instagram sizes) or enter custom dimensions up to 4096 px.
- Background Color — White, Dark Gray, Black, Transparent, or any custom color via a color picker and hex input.
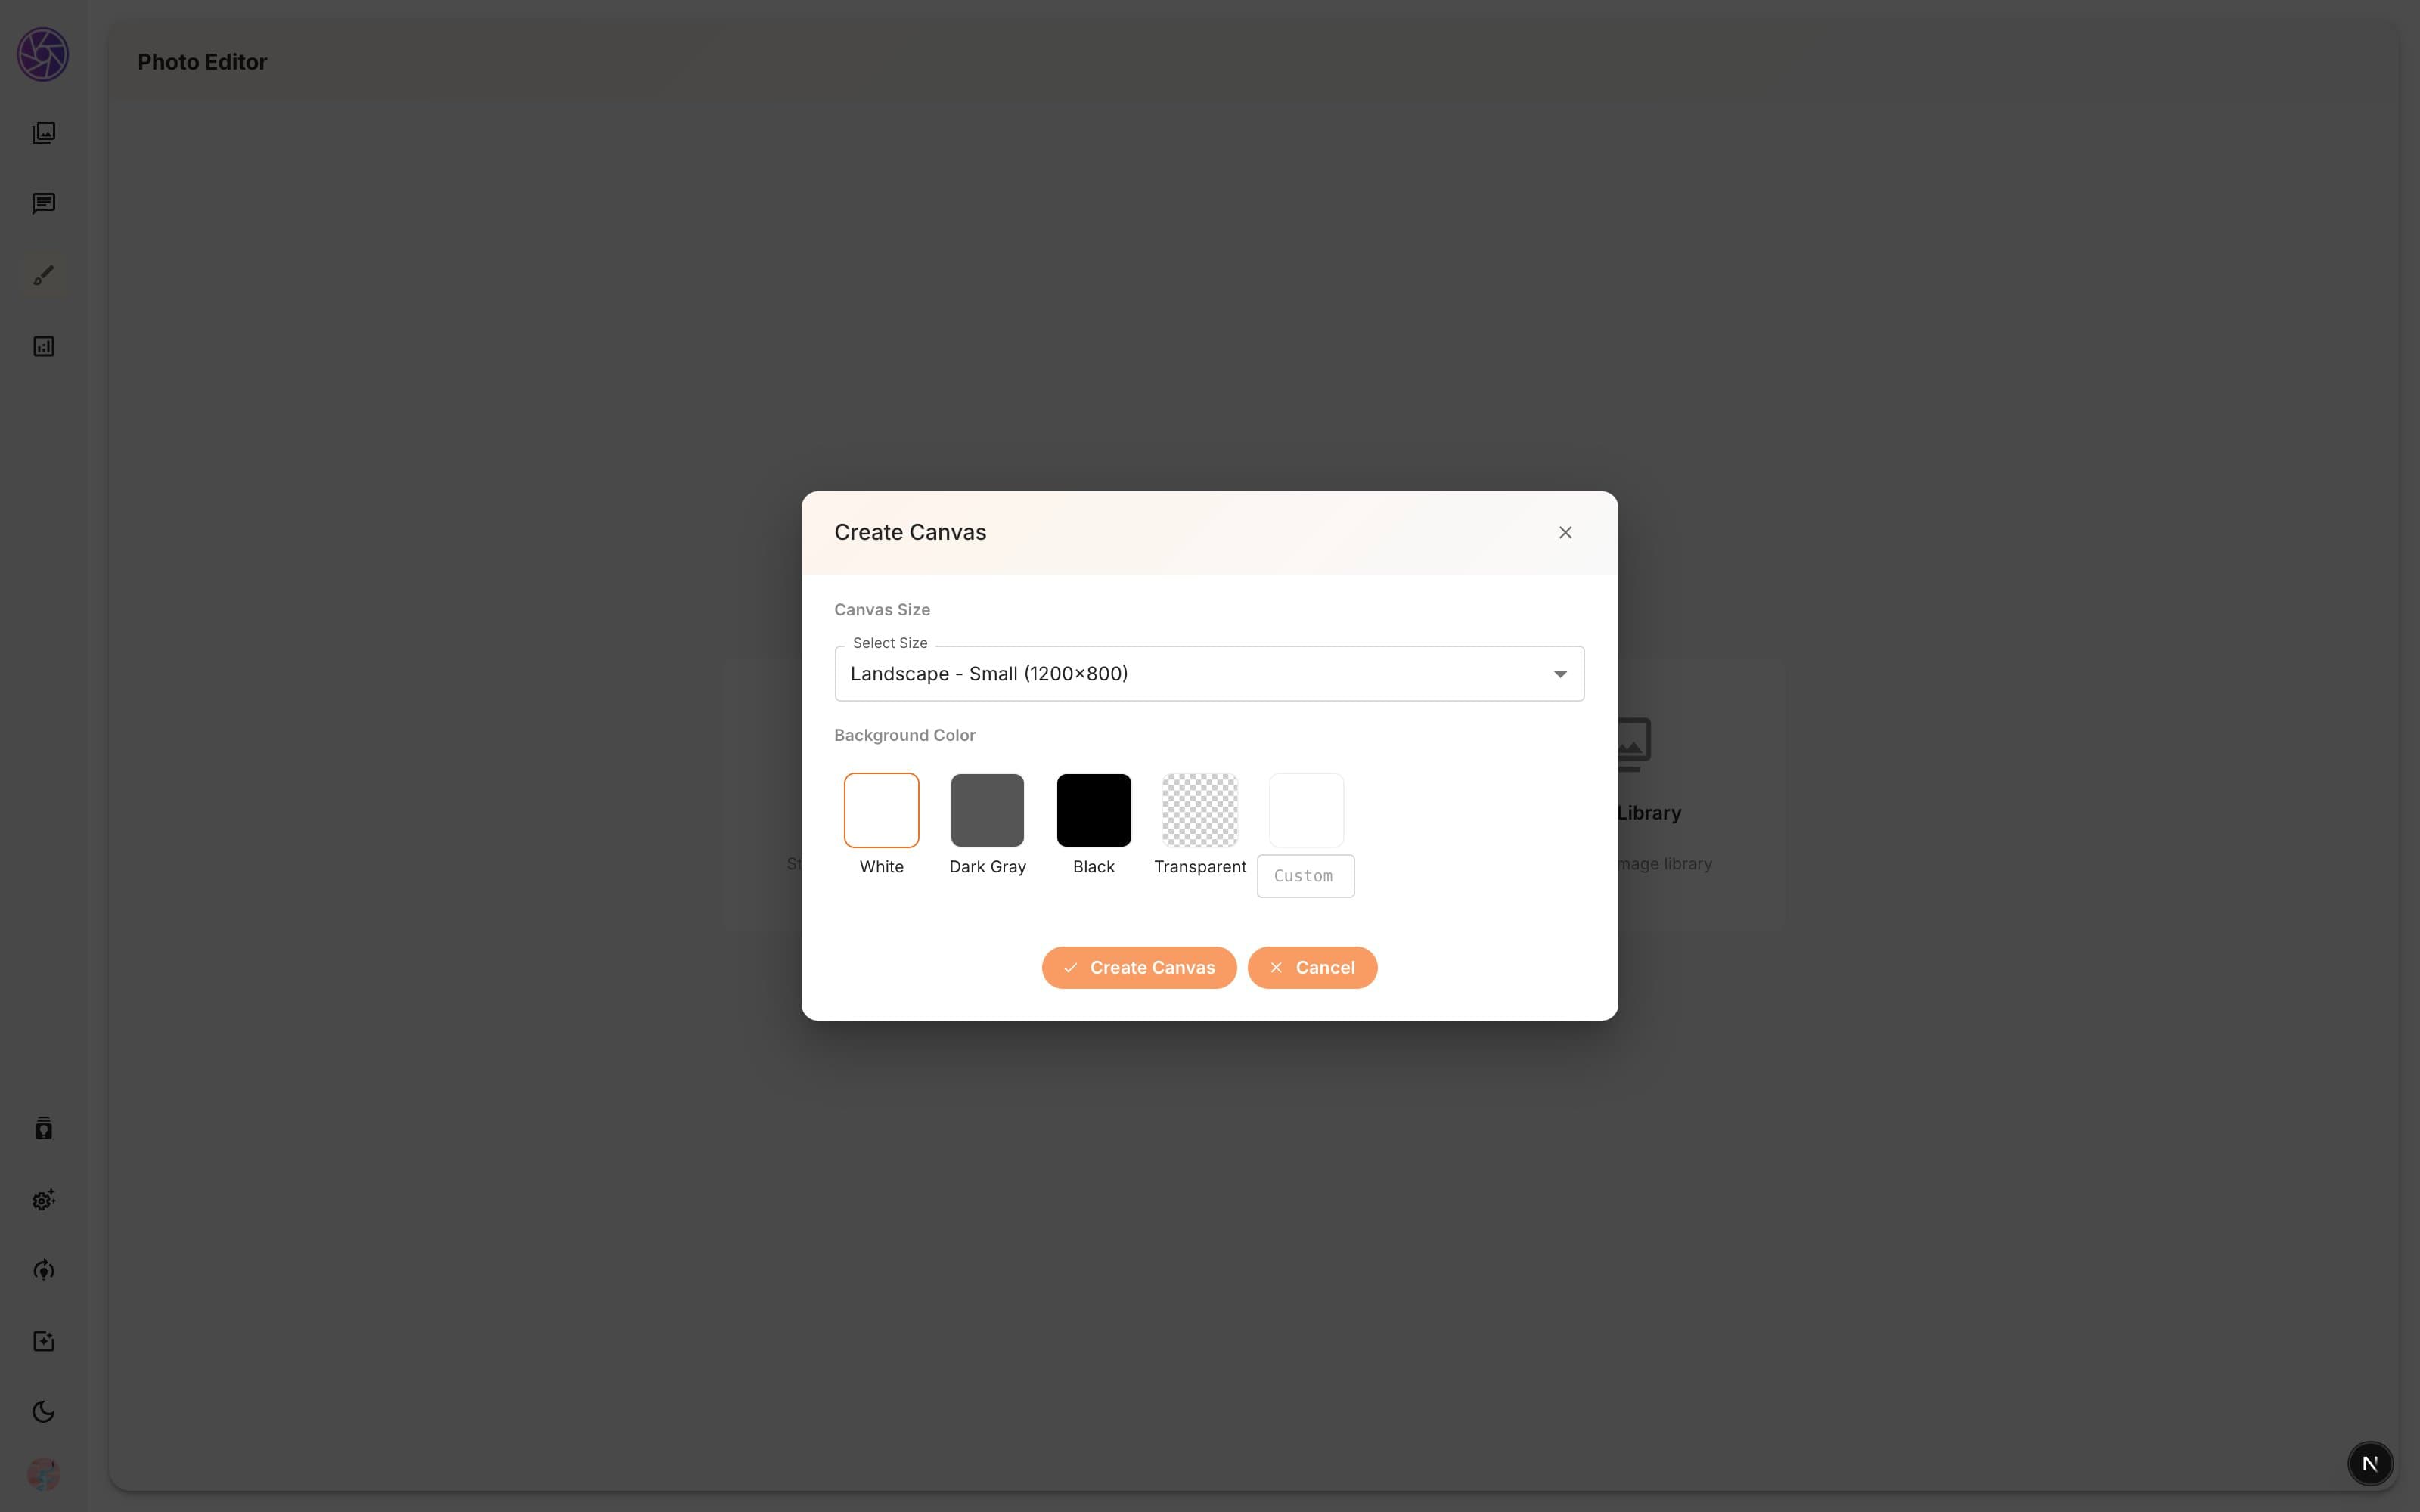
Editor layout
The editor is divided into three areas:
- Left panel — a vertical tab bar with nine editing tools plus the active tool's settings panel.
- Center canvas — the live preview of your image with zoom controls at the bottom.
- Right panel — the edit history showing thumbnails of every version.
The top toolbar provides three actions:
| Button | What it does |
|---|---|
| New | Start a new editing session (warns you if there are unsaved changes). |
| Reset | Revert to the original image, discarding all edits. |
| Save | Open the save dialog to export your work. |
Editing tools
Area Tool
The Area Tool lets you select, cut, copy, and paste regions of your image.
- Select — drag over the canvas to create a rectangular selection area.
- Cut — remove the selected area and copy it to the clipboard.
- Copy — copy the selected area to the clipboard without removing it.
- Paste — place clipboard contents onto the canvas as a movable object.
- Insert Image — add an image from your library as an overlay object.
Keyboard shortcuts work here: Cmd/Ctrl+X to cut, Cmd/Ctrl+C to copy, Cmd/Ctrl+V to paste.
Crop
Crop your image using freeform selection or locked aspect ratios.
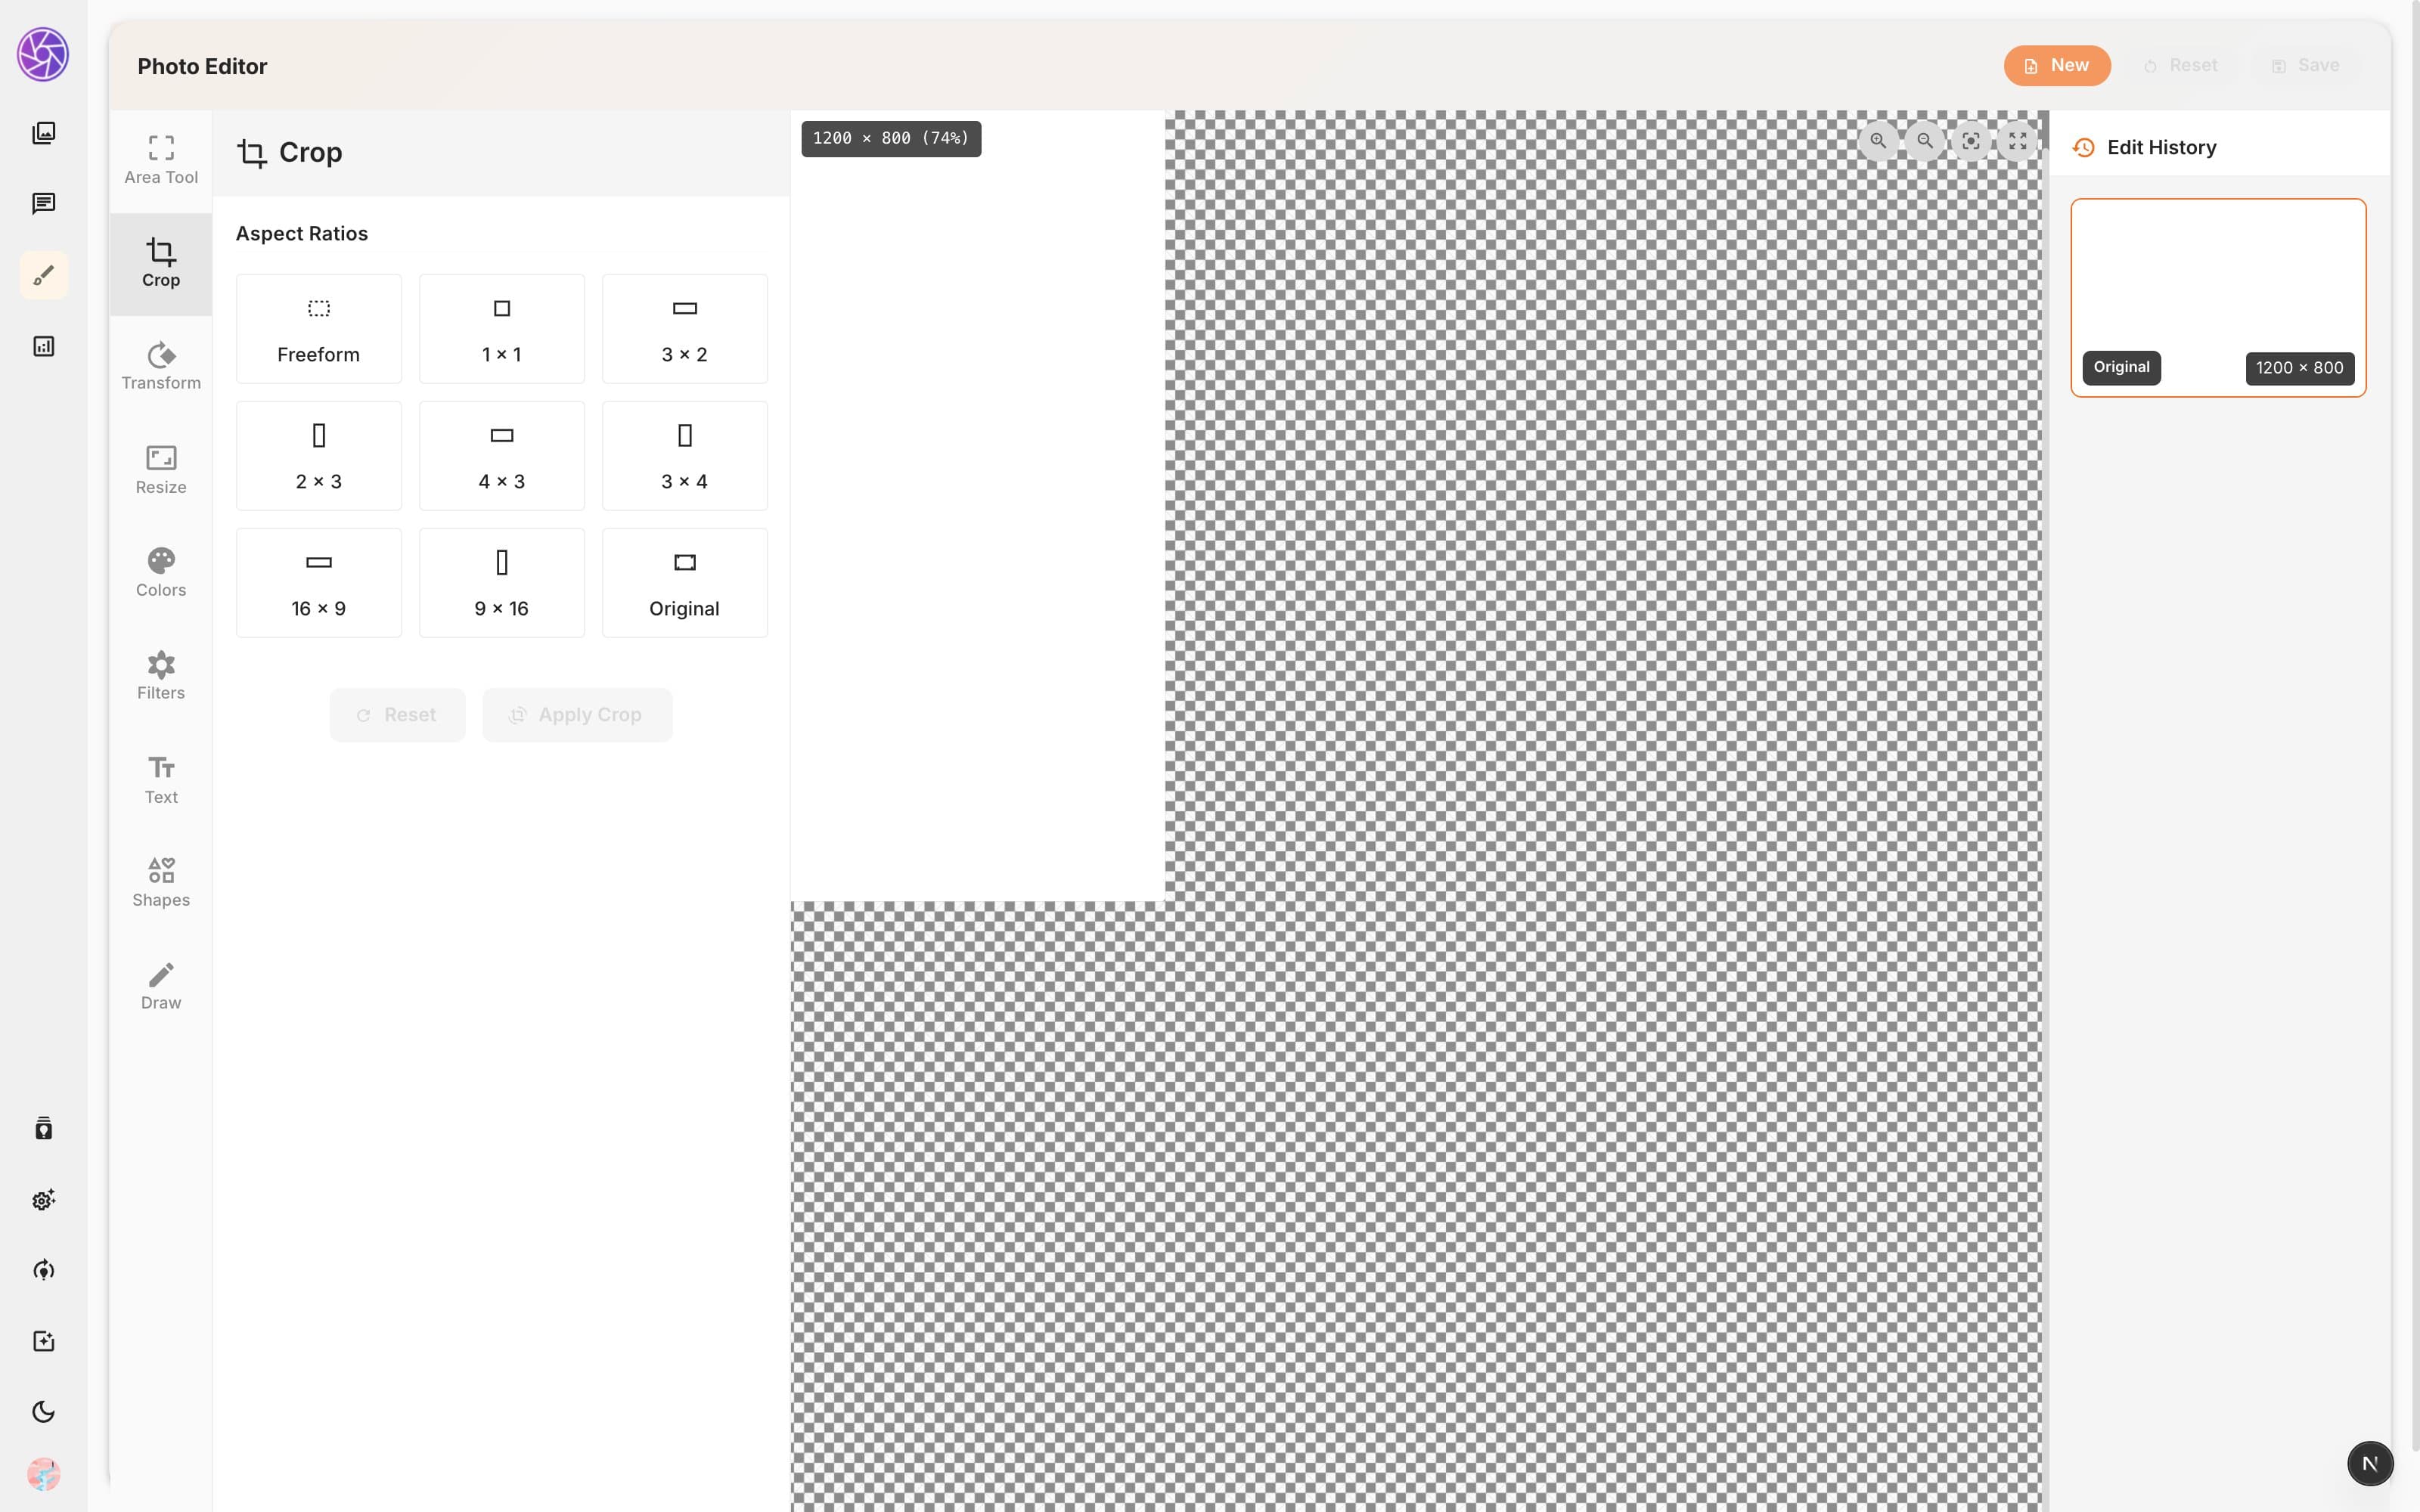
Available aspect ratio presets:
- Freeform — drag to any proportion
- 1:1 — square
- 3:2 / 2:3 — classic photo
- 4:3 / 3:4 — standard display
- 16:9 / 9:16 — widescreen / vertical video
- Original — match the image's native ratio
The panel shows the crop area's position (X, Y), size (W × H), and rotation angle. Click Apply Crop when you are happy with the selection.
Transform
Rotate and flip your image with one-click presets.
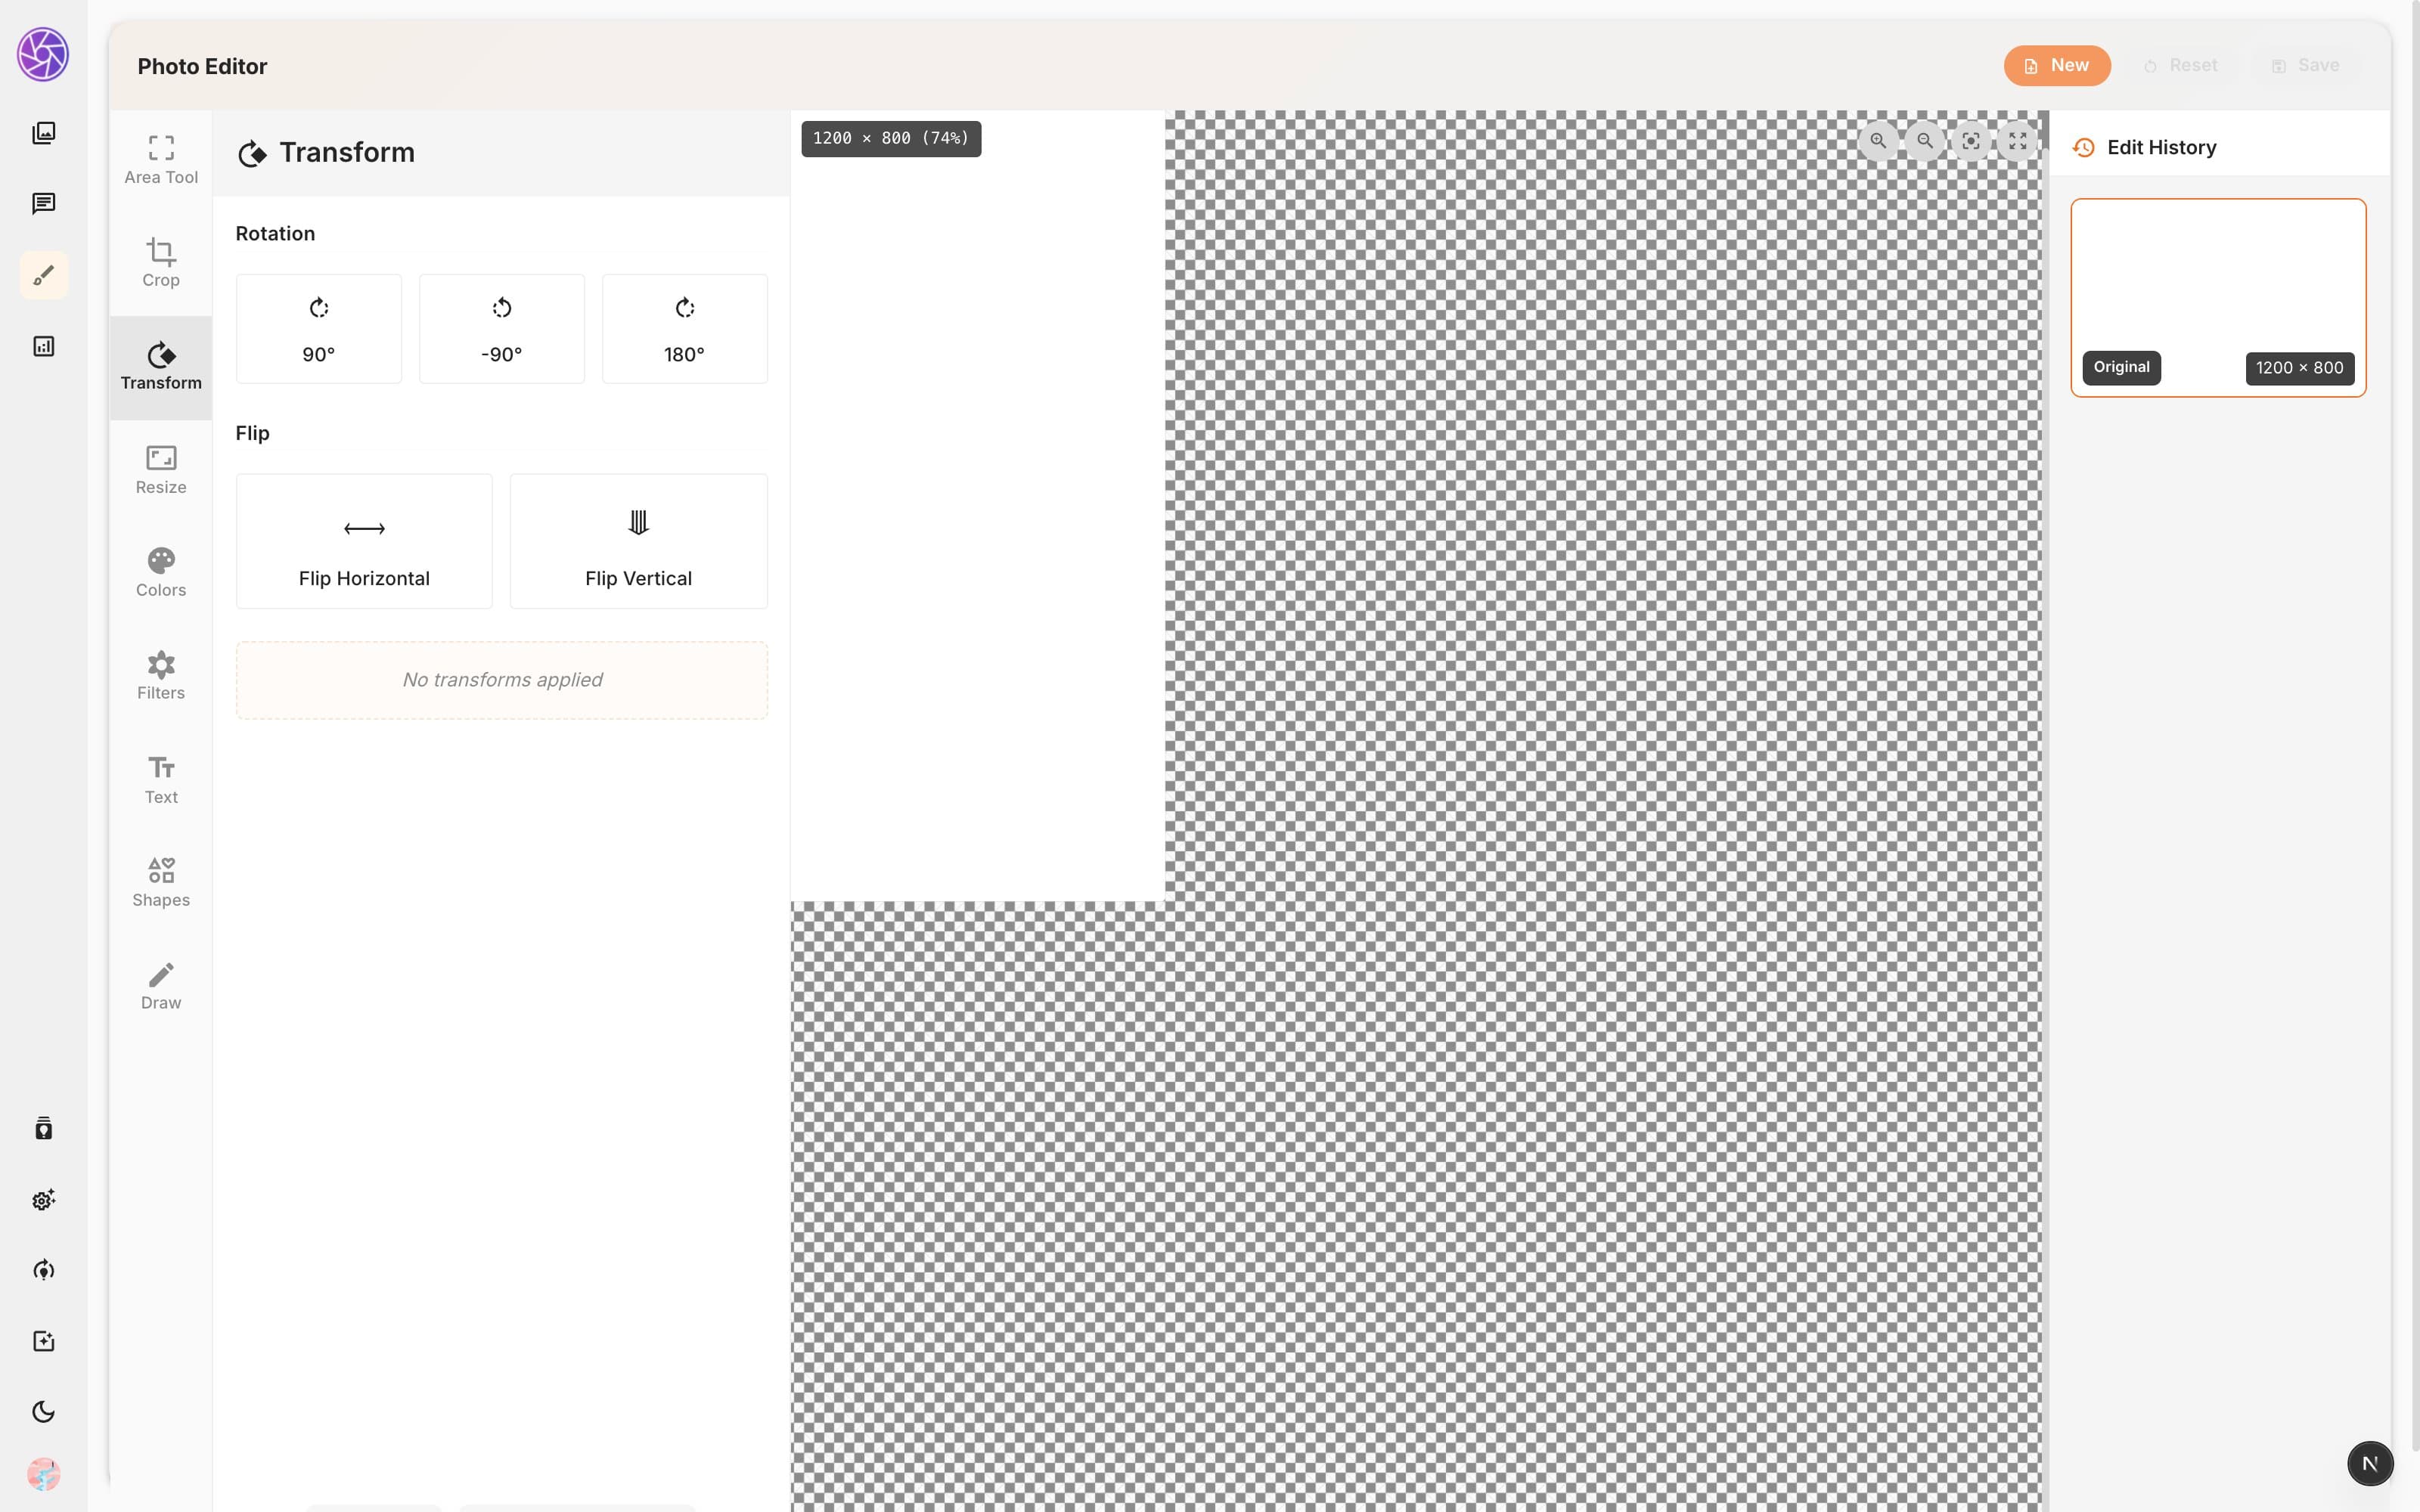
- Rotate — 90° clockwise, 90° counter-clockwise, or 180°
- Flip Horizontal — mirror the image left to right
- Flip Vertical — mirror the image top to bottom
A summary of applied transforms is shown in the panel.
Resize
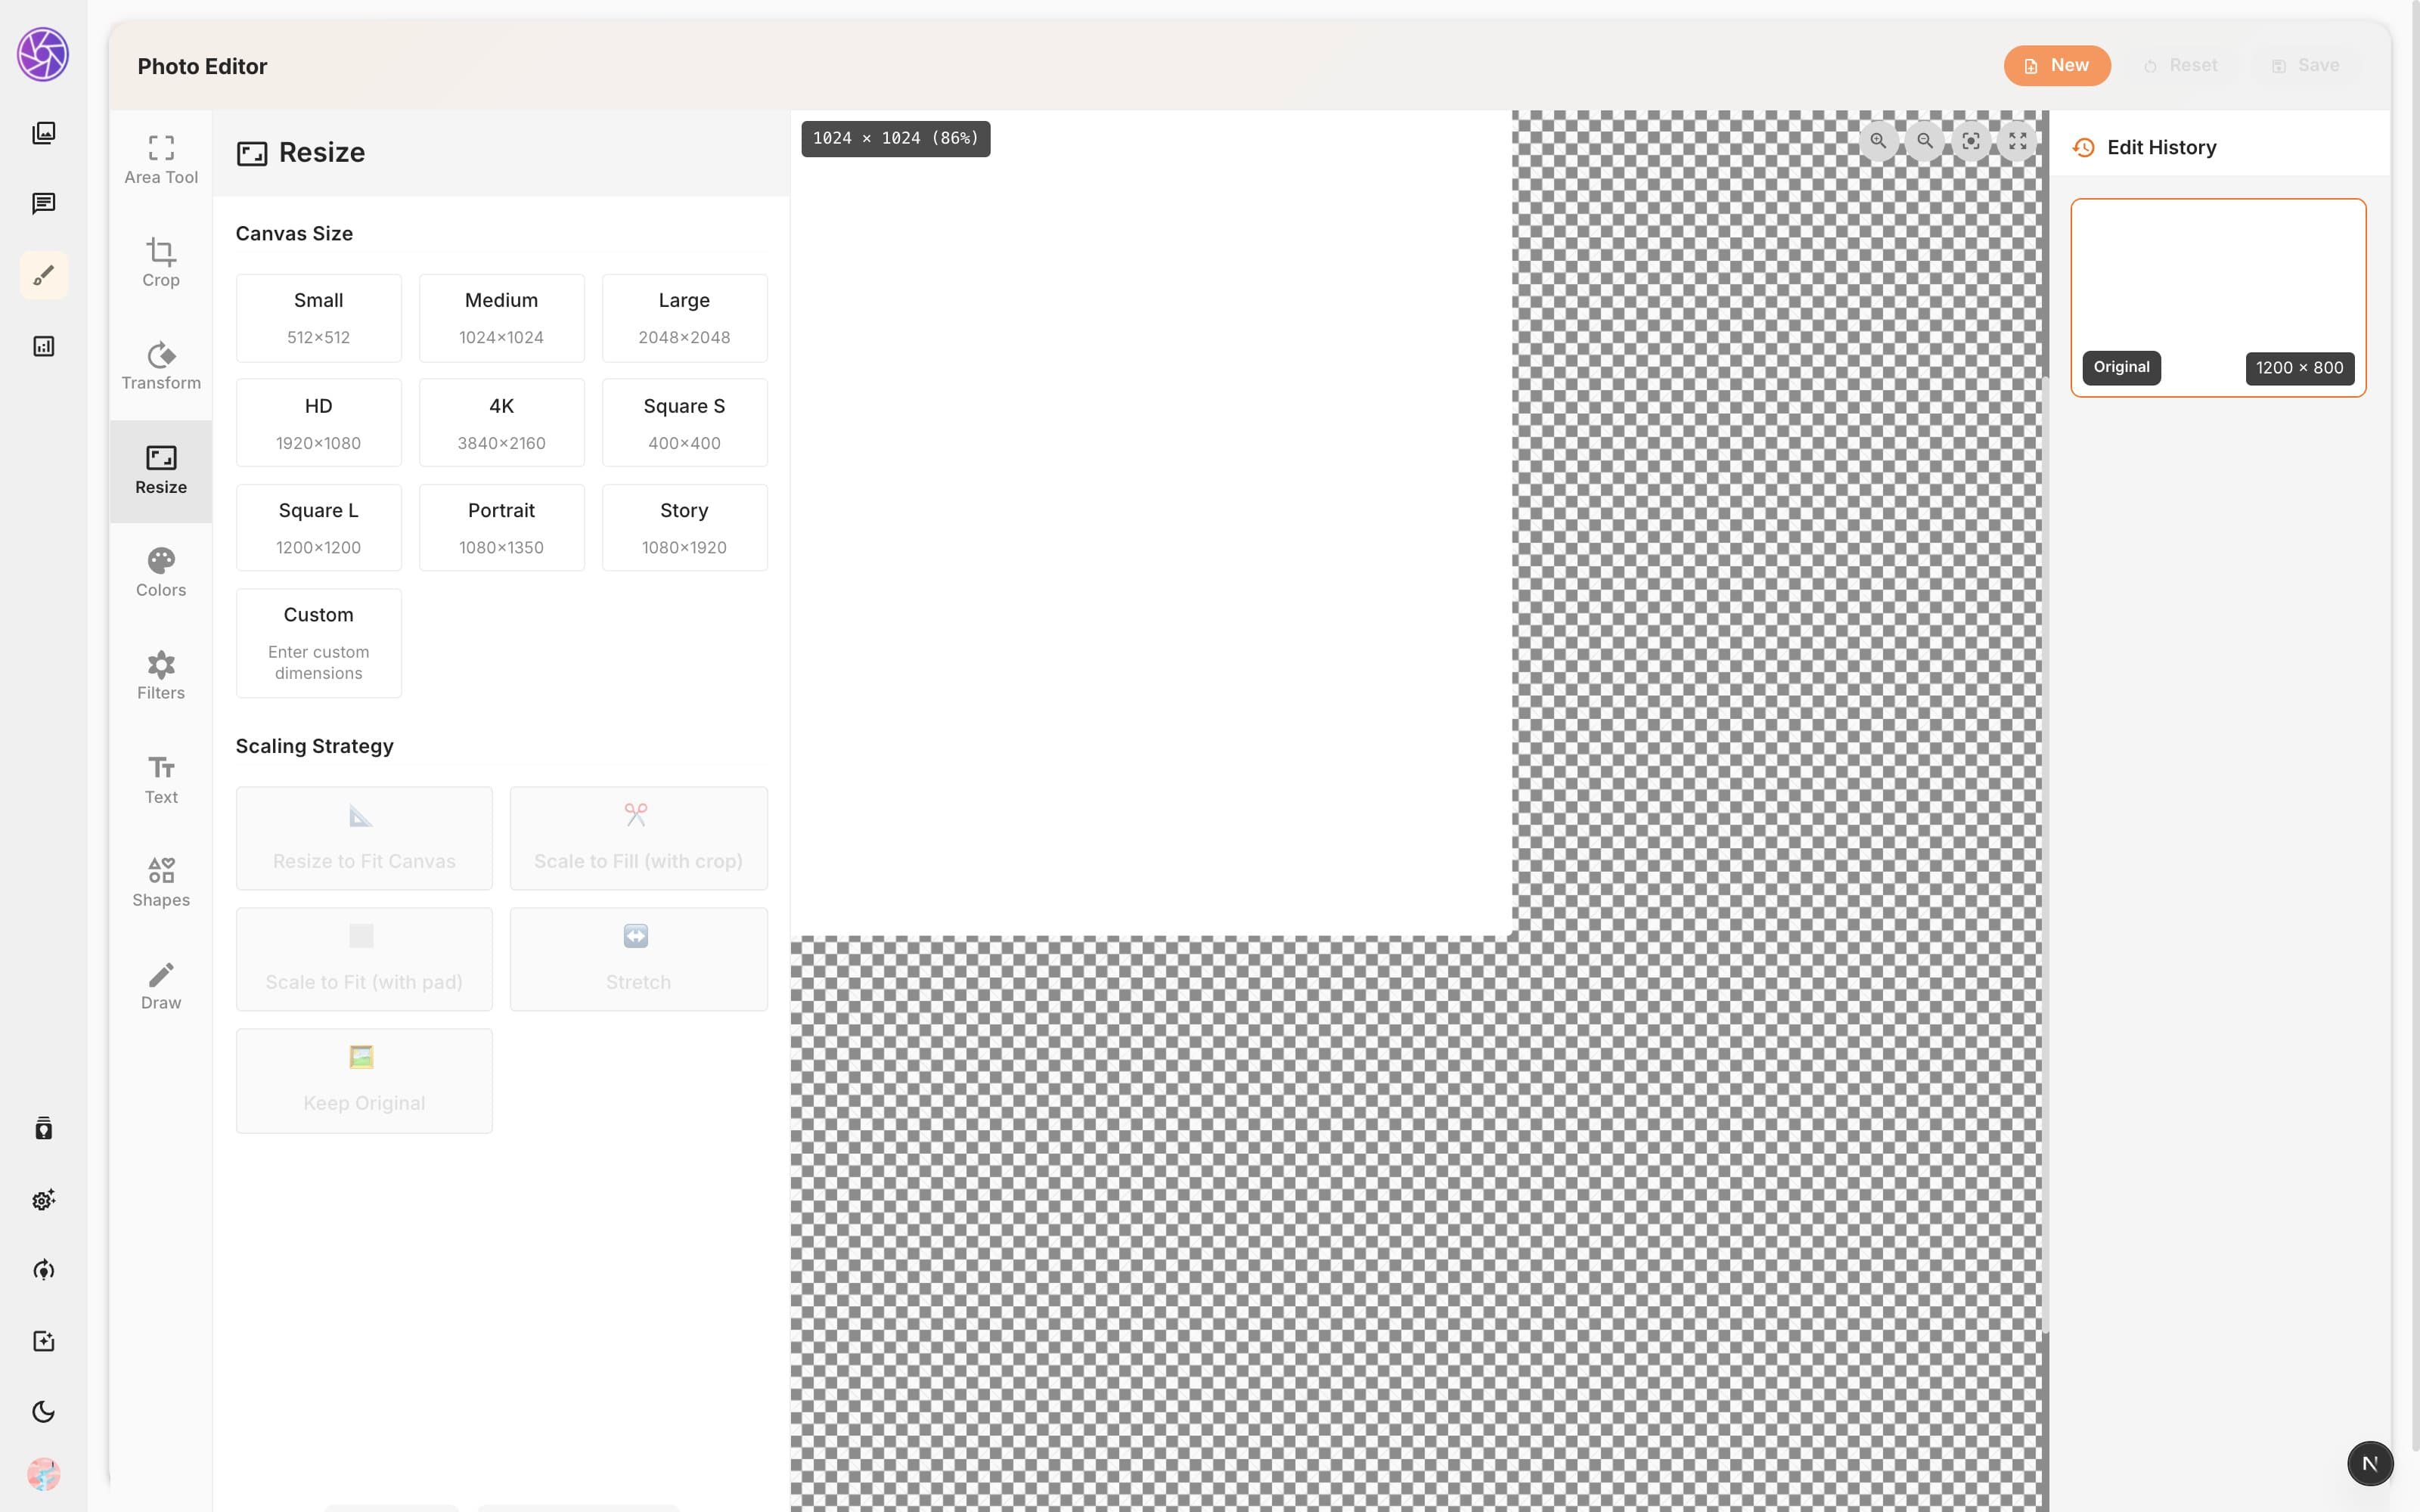
Scale your image to specific dimensions with intelligent fill strategies.
Size presets
| Preset | Dimensions | Use case |
|---|---|---|
| Small | 512 × 512 | Social media |
| Medium | 1024 × 1024 | Web display |
| Large | 2048 × 2048 | High quality |
| HD | 1920 × 1080 | 16:9 widescreen |
| 4K | 3840 × 2160 | Ultra HD |
| Square S | 400 × 400 | Instagram post |
| Square L | 1200 × 1200 | High-res square |
| Portrait | 1080 × 1350 | 4:5 ratio |
| Story | 1080 × 1920 | 9:16 vertical |
| Custom | Any | Enter your own dimensions |
Scaling strategies
When the target aspect ratio differs from the source, you choose how the image fits:
- Resize to Fit Canvas — scale to match canvas dimensions
- Scale to Fill (with crop) — zoom and crop to fill the frame
- Scale to Fit (with pad) — keep the ratio and pad with transparency
- Stretch — distort the image to fit exactly
- Keep Original — preserve the original image size
You can also lock the aspect ratio and pick an anchor position for cropping.
Colors
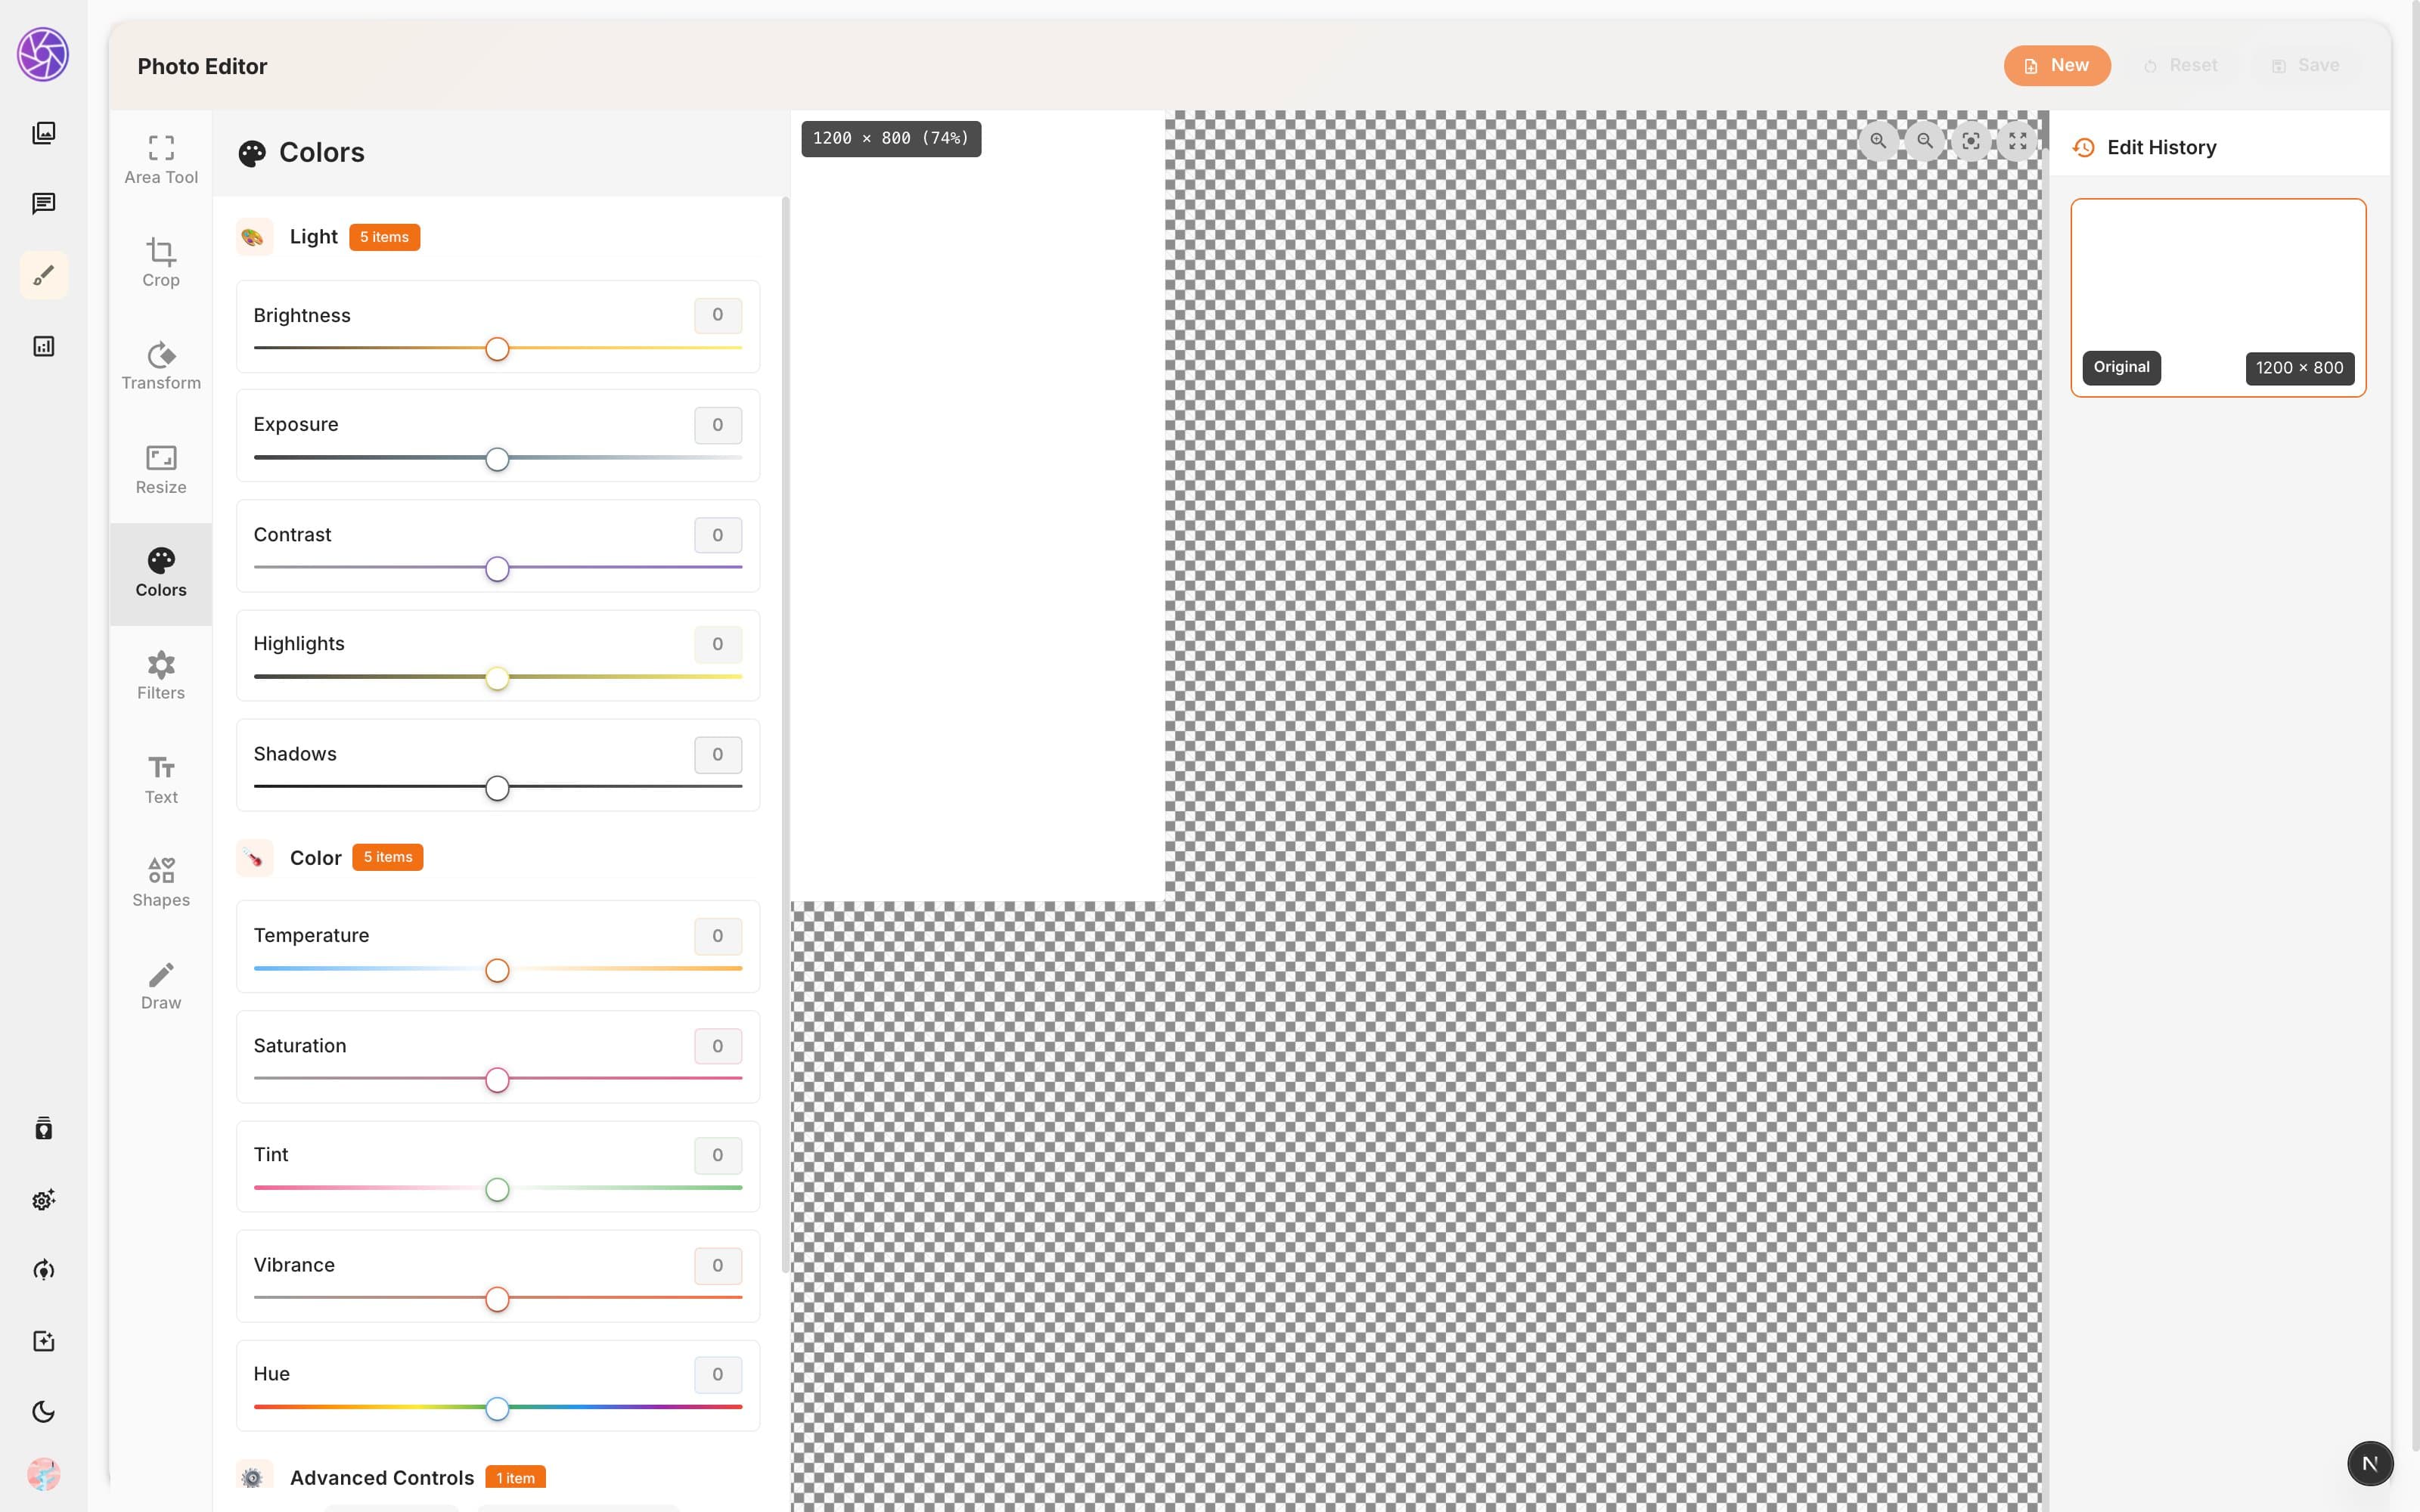
Fine-tune the lighting and color of your image with real-time sliders.
Light adjustments
- Brightness
- Exposure
- Contrast
- Highlights
- Shadows
Color adjustments
- Temperature (cool ↔ warm)
- Saturation
- Tint (green ↔ magenta)
- Vibrance
- Hue shift (−180° to +180°)
Advanced
- Gamma correction (0.1 – 3.0)
All changes preview in real time on the canvas. Click Apply to commit or Reset to discard.
Filters
Apply one-click preset filters to instantly change the mood of your image.
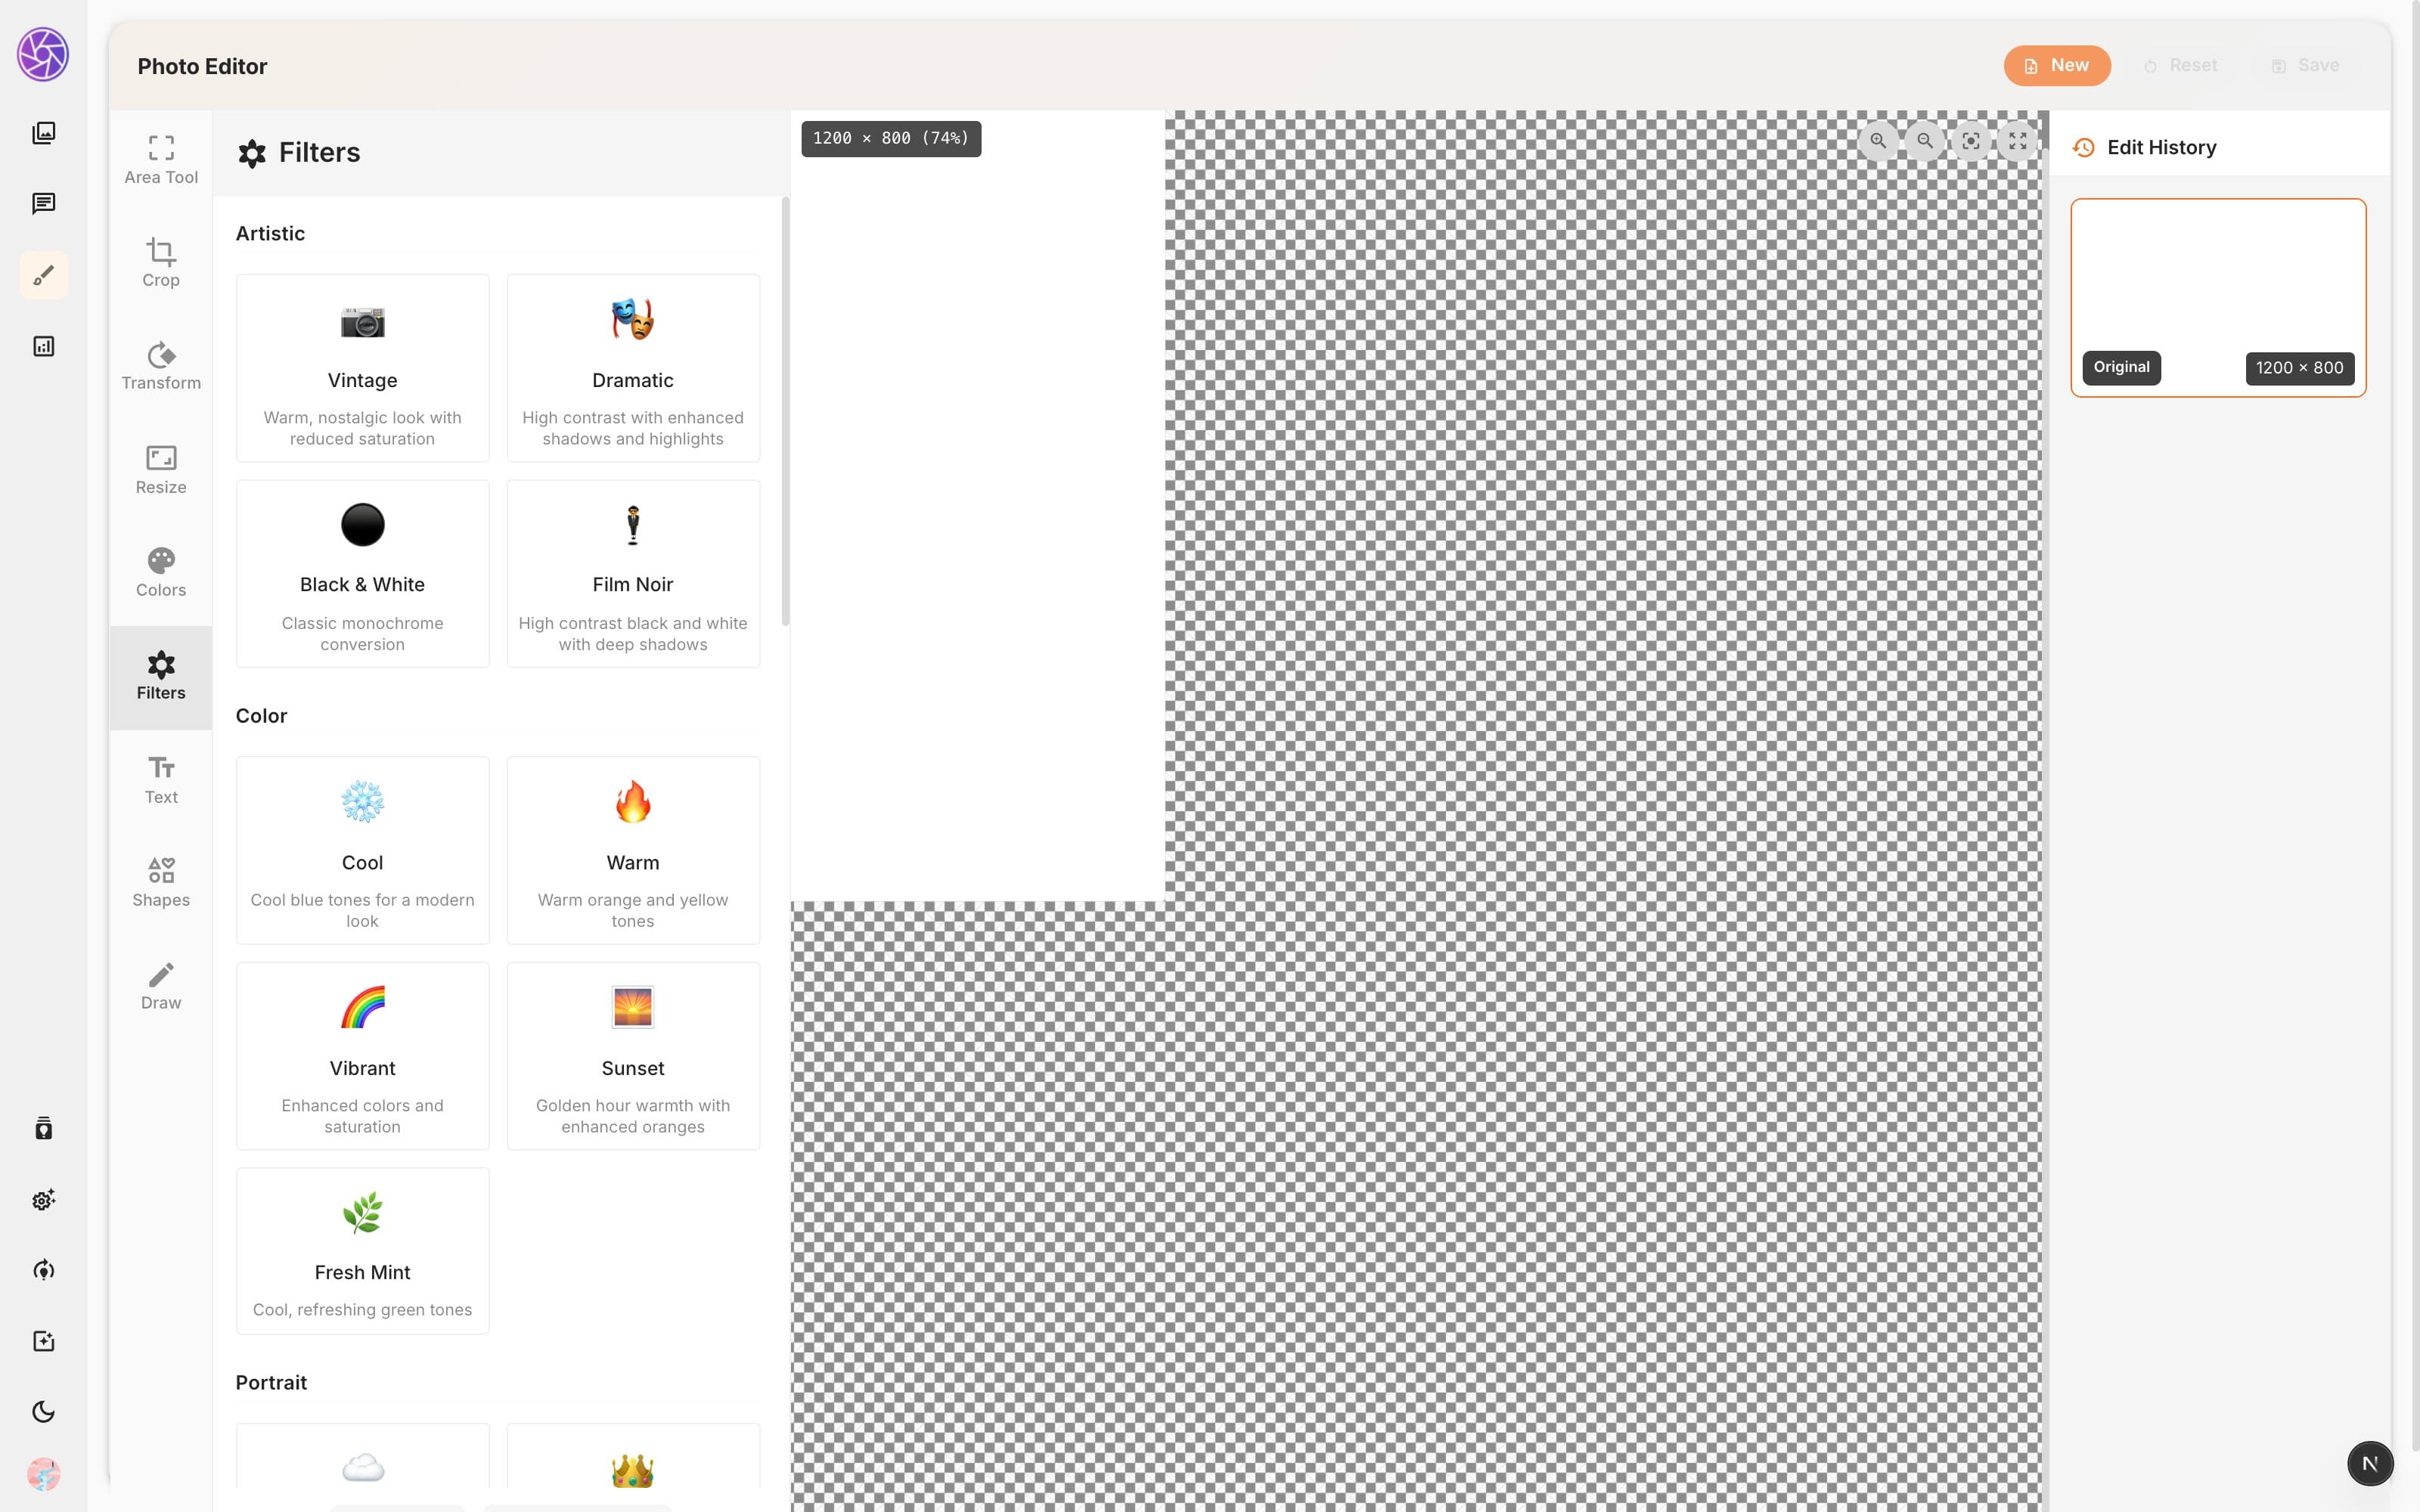
Filters are organized into categories:
- Artistic — Vintage, Dramatic, Black & White, Film Noir
- Color — Cool, Warm, Vibrant, Sunset
- Portrait — Soft
- Modern — Matte
- Cinematic — Cinematic
- Social — Ludwig, Clarendon
Select a filter to preview it instantly. Click Apply Filter to commit the effect or Reset to remove it.
Text
Add text overlays to your image with full styling control.
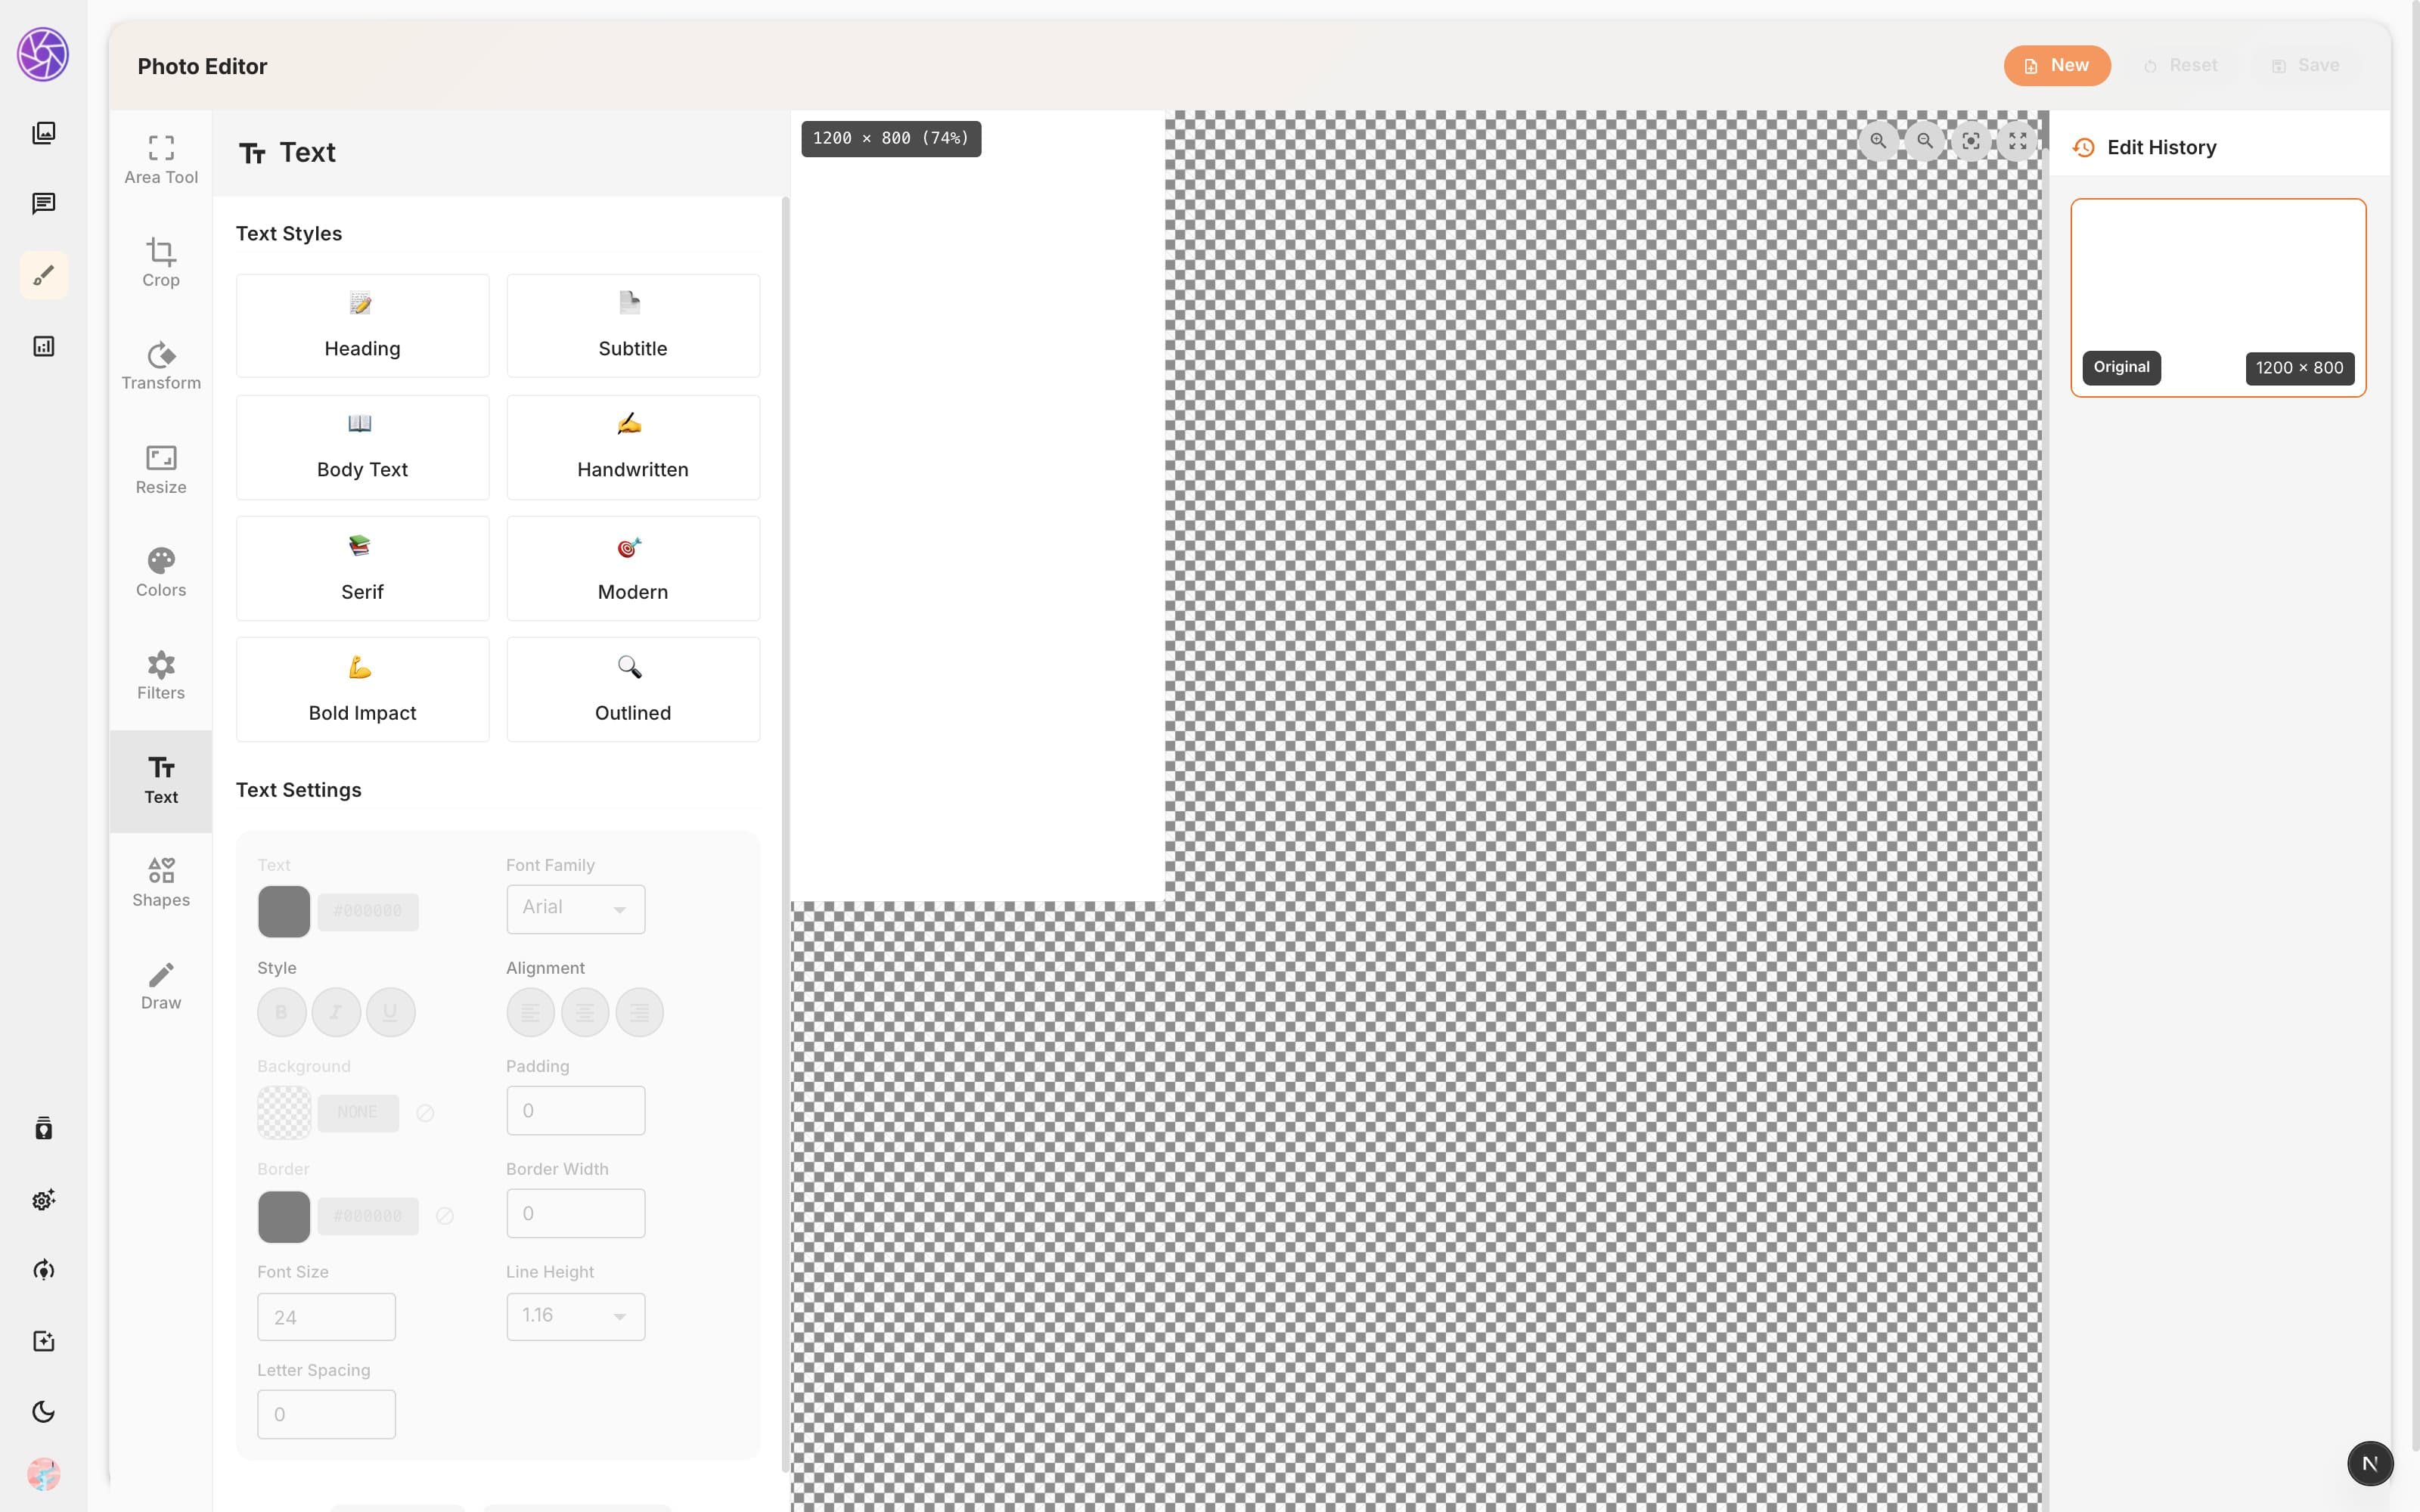
- Font — choose from available font families
- Size — set the font size
- Weight — bold or normal
- Style — italic toggle
- Underline — underline toggle
- Alignment — left, center, or right
- Line height and character spacing
- Text color and background color
- Border — add a colored border around the text box with adjustable width and padding
Click on the canvas to place text, then use the panel to style it.
Shapes
Add geometric shapes and lines to your image.
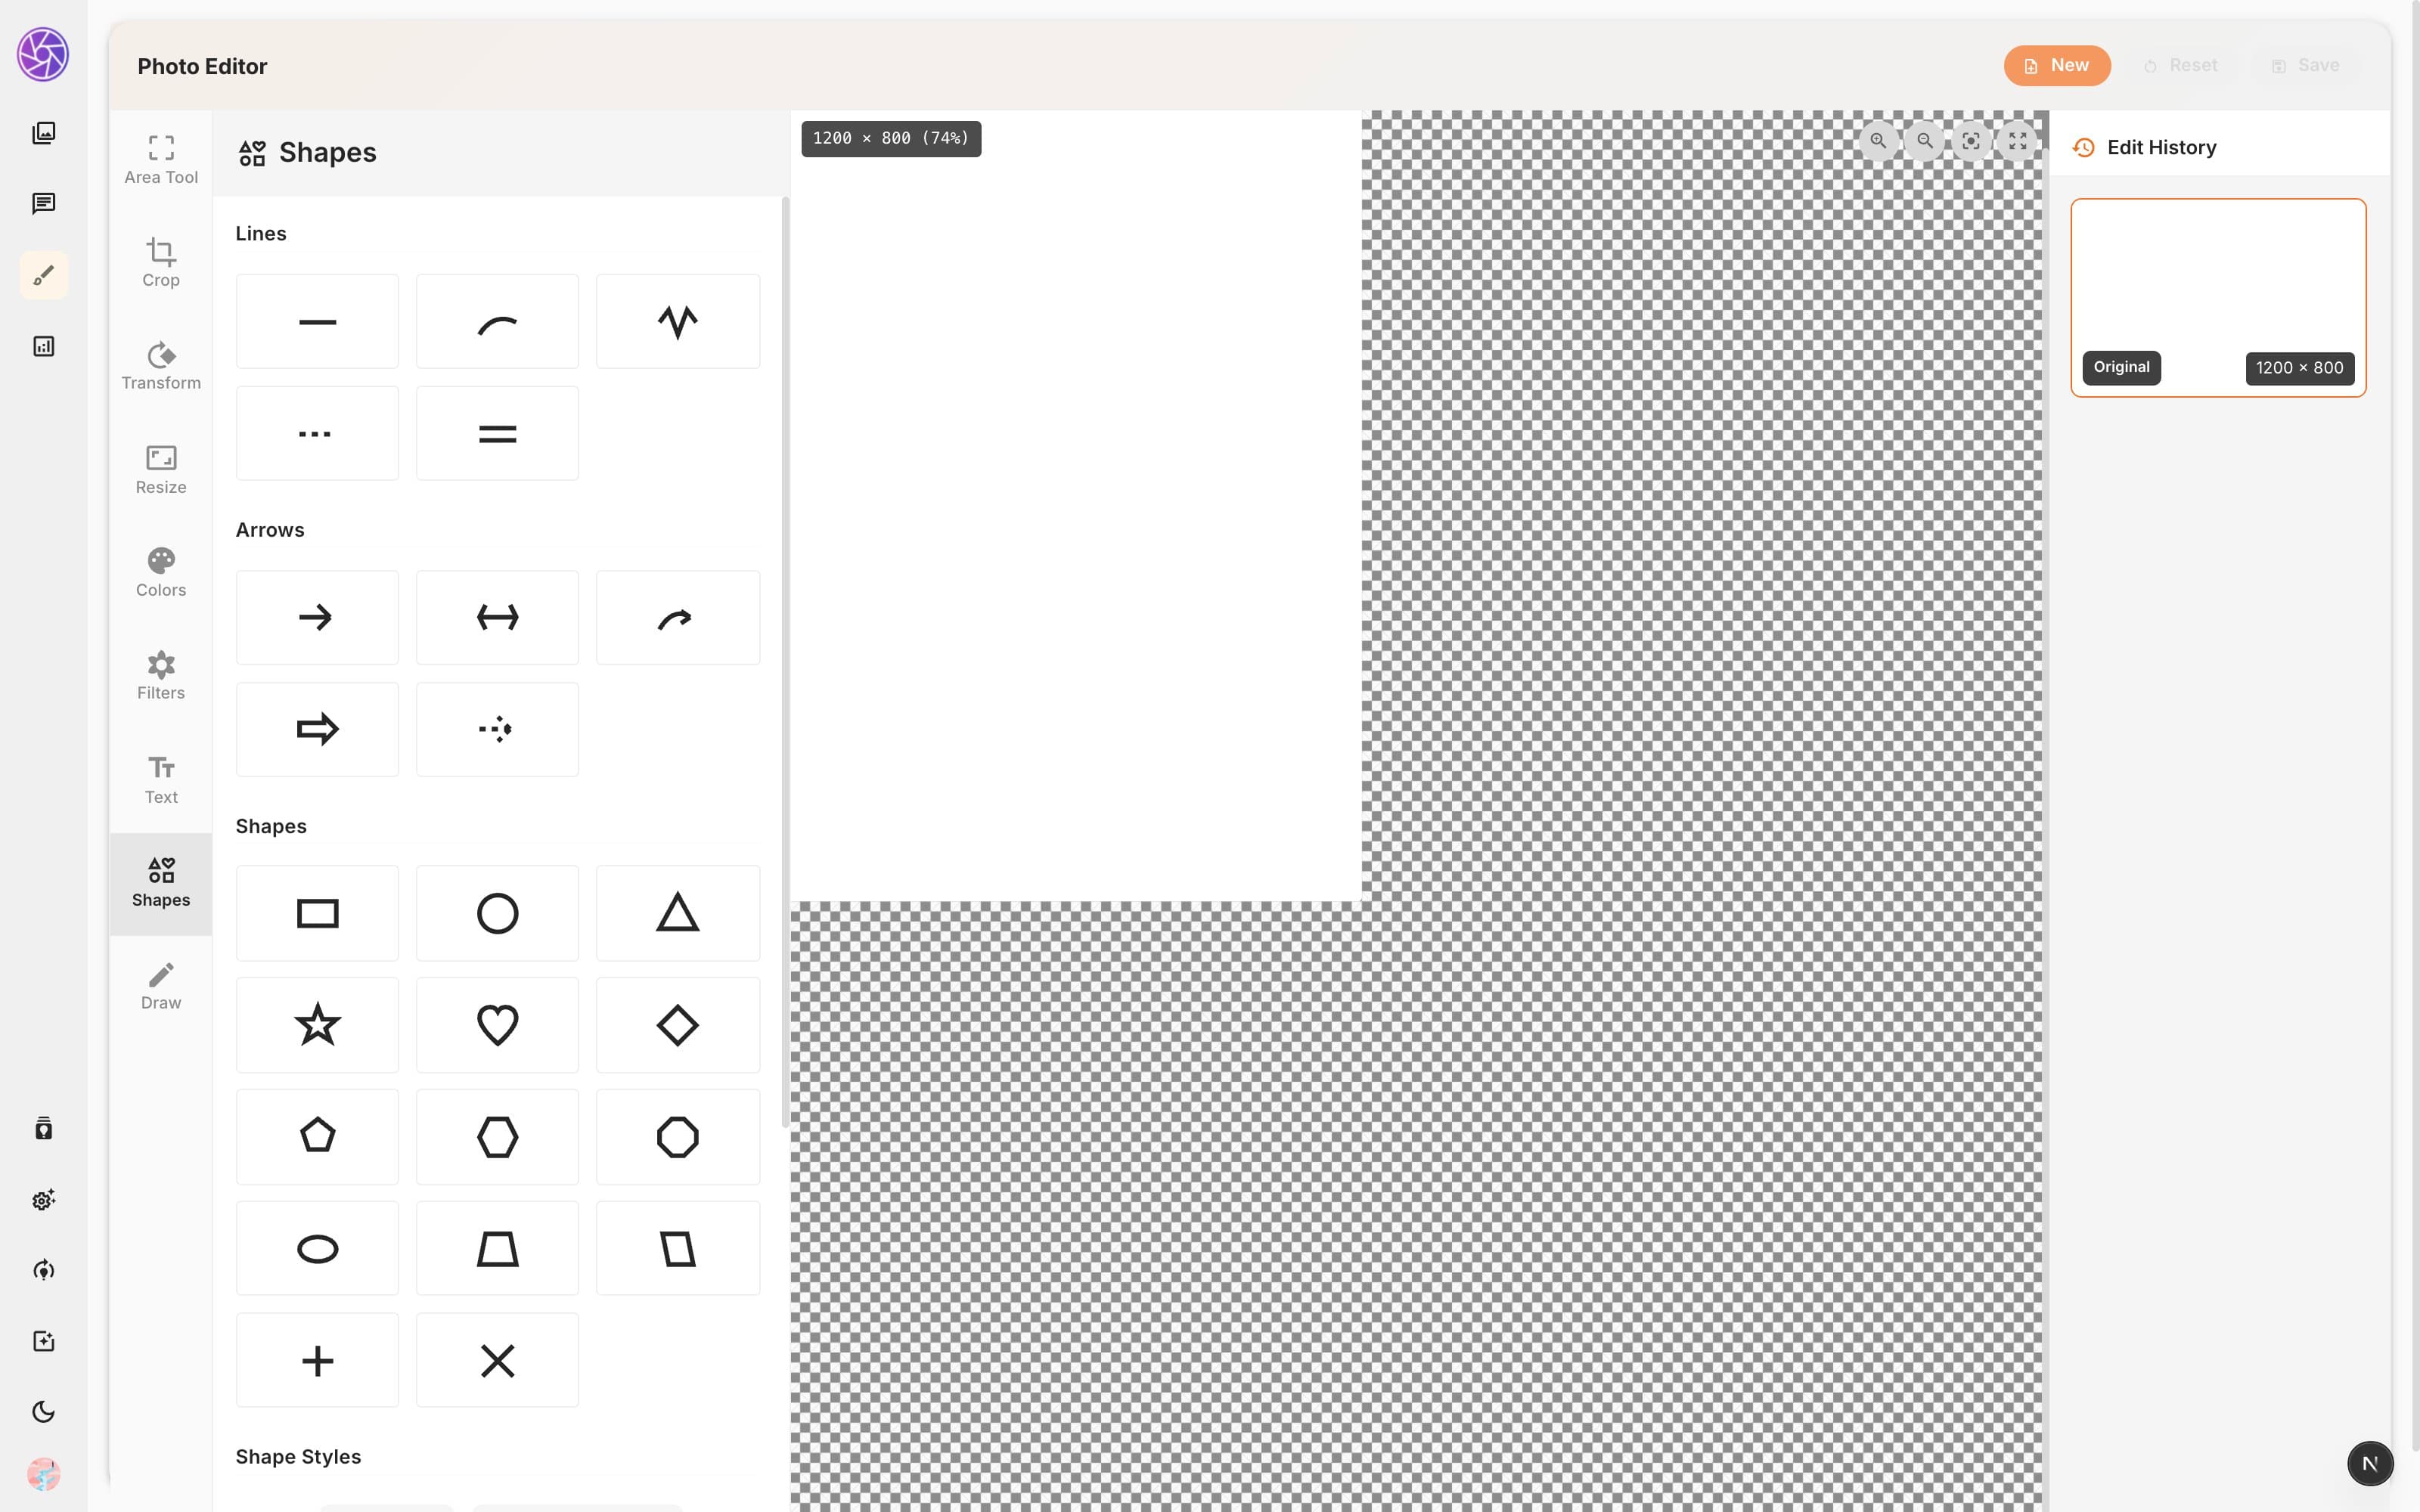
Shape categories include:
- Lines — straight lines
- Arrows — directional arrows
- Shapes — circles, rectangles, triangles, and more
- Special — additional decorative shapes
Each shape can be customized with fill color, stroke color, and stroke width. Shapes are placed as movable objects on the canvas that you can resize and reposition.
Draw
Freehand draw directly on your image with various brush types and styles.
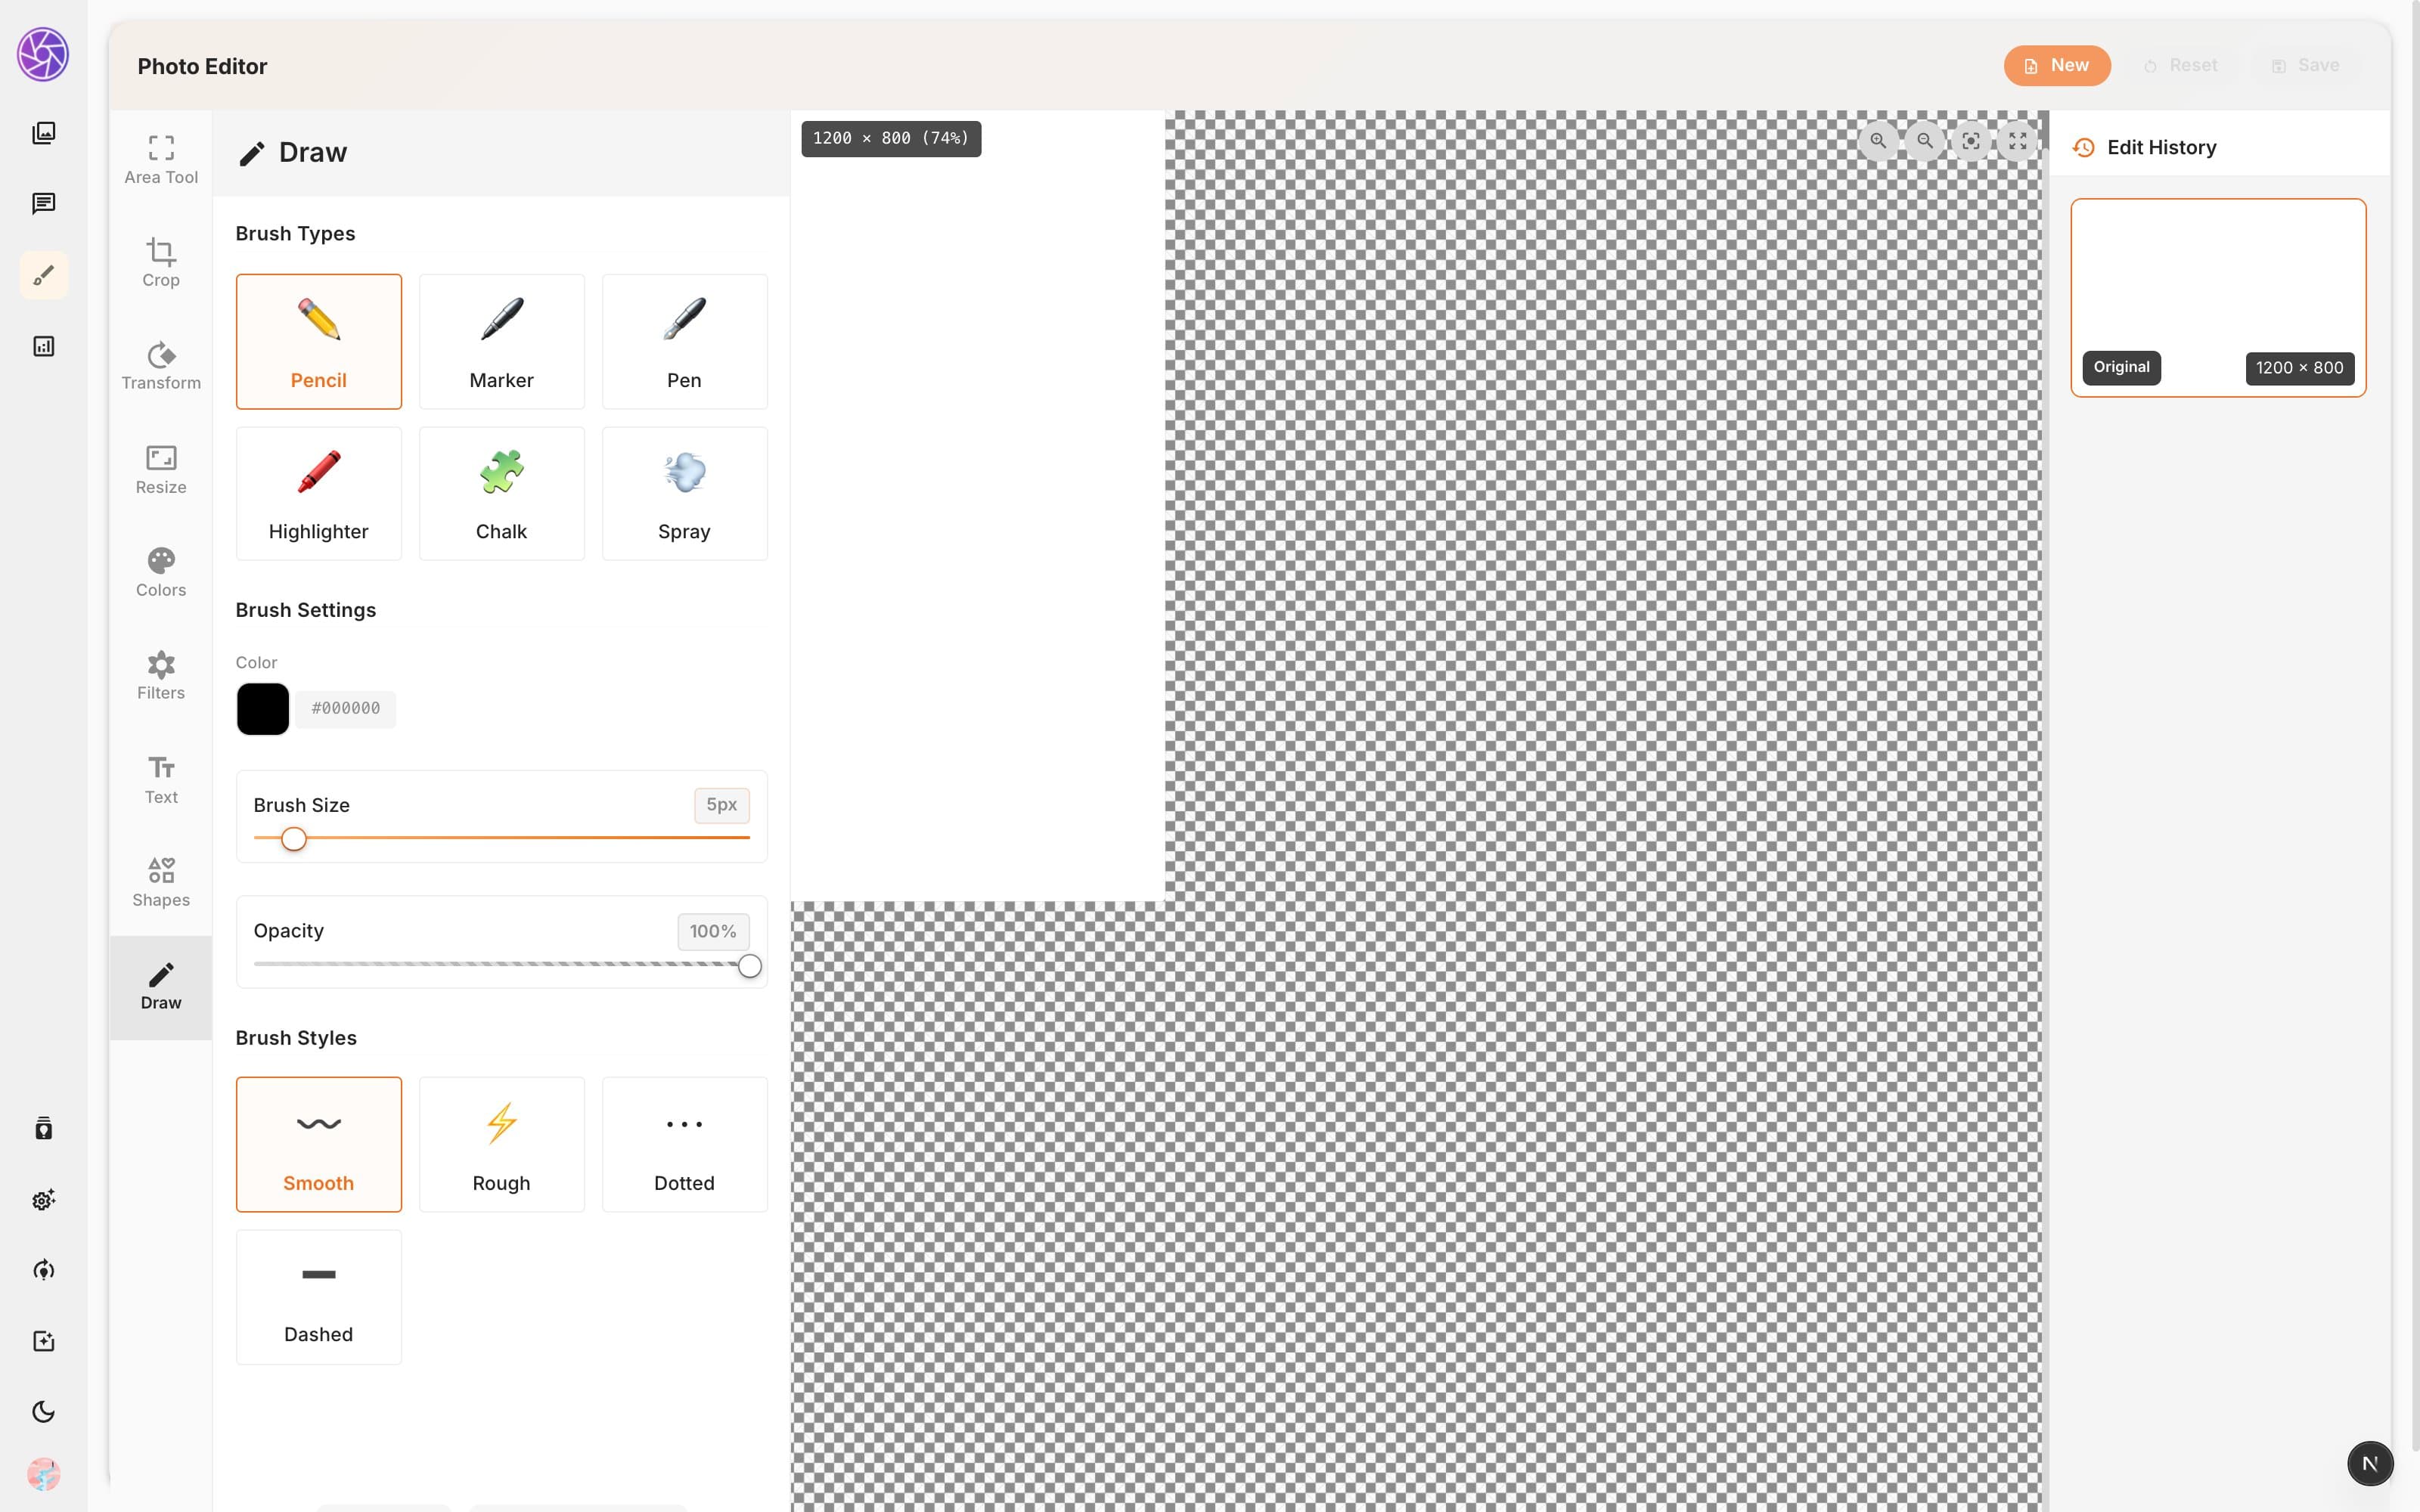
Brush types
- Pencil — fine, precise strokes
- Marker — bold, flat strokes
- Pen — smooth ink-like strokes
- Highlighter — semi-transparent highlighting
- Chalk — textured, rough strokes
- Spray — spray-paint effect
Brush settings
- Color — pick any color
- Brush Size — 1 px to 50 px
- Opacity — 0% to 100%
Brush styles
- Smooth, Rough, Dotted, Dashed
Switching to the Draw tab automatically enables drawing mode on the canvas. Click Apply Drawing to flatten your strokes onto the image, or Reset to clear all drawing.
Zoom controls
The bottom of the canvas area provides zoom controls:
- Zoom In / Zoom Out — adjust the zoom level incrementally
- Zoom to 100% — view the image at its actual pixel size
- Reset Zoom — fit the image to the available canvas area
The current image dimensions and zoom percentage are displayed alongside the controls (e.g. "1200 × 800 (74%)").
Edit history
The right panel shows your Edit History — a visual timeline of every version of your image. Each entry displays a thumbnail and the image dimensions at that point.
- Click any version to jump back to that state.
- Delete a version to remove it from the history.
- Click Select original to revert to the very first version.
The history is stored in memory for the duration of your editing session.
Saving your work
When you click Save (or try to start a new edit with unsaved changes), a save dialog appears. You first select an output format — PNG, JPEG, WebP, and more — with format-specific quality options.
Then choose a save action:
| Action | What it does |
|---|---|
| Save & Close | Save the edited image as a new file in your library. |
| Replace Original | Overwrite the original image (only available when editing an existing library image). |
| Discard & Close | Abandon all changes and close the editor. |
Auto-apply on tab switch
When you switch from one tool tab to another, the editor automatically applies any pending changes from the current tool. This means you do not need to manually click "Apply" before moving on — your adjustments are preserved as you work across tools.
Keyboard shortcuts
| Key | Action |
|---|---|
| Cmd/Ctrl + X | Cut selected area |
| Cmd/Ctrl + C | Copy selected area |
| Cmd/Ctrl + V | Paste from clipboard |
Tips
- Start from the library for the fastest workflow. Open any image's detail view and click Edit to jump straight into the editor with that image loaded.
- Use the history panel to experiment freely. Try different filters or color adjustments, then jump back to any earlier version if you change your mind.
- Resize presets save time. If you regularly export for specific platforms (Instagram, HD video, etc.), the built-in presets give you the right dimensions in one click.
- Combine tools for layered edits. For example, adjust colors first, apply a filter, add text, then resize for export — the auto-apply feature keeps your workflow smooth.
- Draw + Area Tool together. Draw annotations, then use the Area Tool to cut and reposition elements on the canvas.
Last updated: July 7, 2026